In this tutorial, we will describe the step-by-step process to install Apache Flink(Version 1.12.2) on the Ubuntu 18.04.4 LTS (Bionic Beaver). You can use other versions of UNIX.
Platform
- Operating System (OS). We have used Ubuntu 18.04.4 LTS version, you can use other flavors of Linux systems like Redhat, CentOS, etc.
- Flink. We have used the Apache Flink 1.12.2 version for installation.
Download Software
Steps to Install Apache Flink version(1.12.2) on Ubuntu 18.04.4 LTS
Please follow the below steps to install Apache Flink.
Step 1. Please verify if Java is installed.
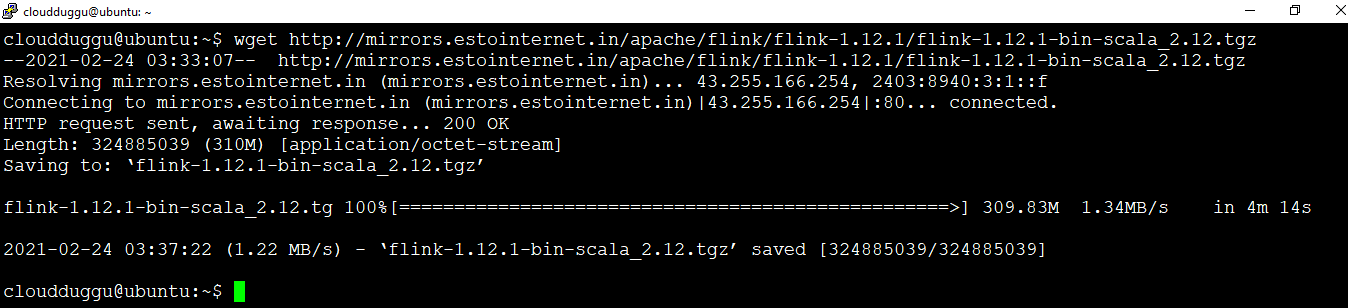
Step 2. Please download Flink 1.12.2 from the below link.
On Linux: $wget http://mirrors.estointernet.in/apache/flink/flink-1.12.2/flink-1.12.2-bin-scala_2.12.tgz
On Windows: http://mirrors.estointernet.in/apache/flink/flink-1.12.2/flink-1.12.2-bin-scala_2.12.tgz
Step 3. Now we will extract the tar file by using the below command and rename the folder to flink to make it meaningful.
cloudduggu@ubuntu:~$tar -xzf flink-1.12.2-bin-scala_2.12.tgz
cloudduggu@ubuntu:~$mv flink-1.12.2 flink

Step 4. Now it is time to start the Apache Flink Cluster. Use the below command to start the Flink cluster. Go to the Flink home and run the below command.
cloudduggu@ubuntu:~$cd flink
cloudduggu@ubuntu:~/flink$ ./bin/start-cluster.sh

Step 5. Once the Apache Flink Cluster is started after that verify the Flink daemons using the JPS command.
cloudduggu@ubuntu:~/flink$ jps

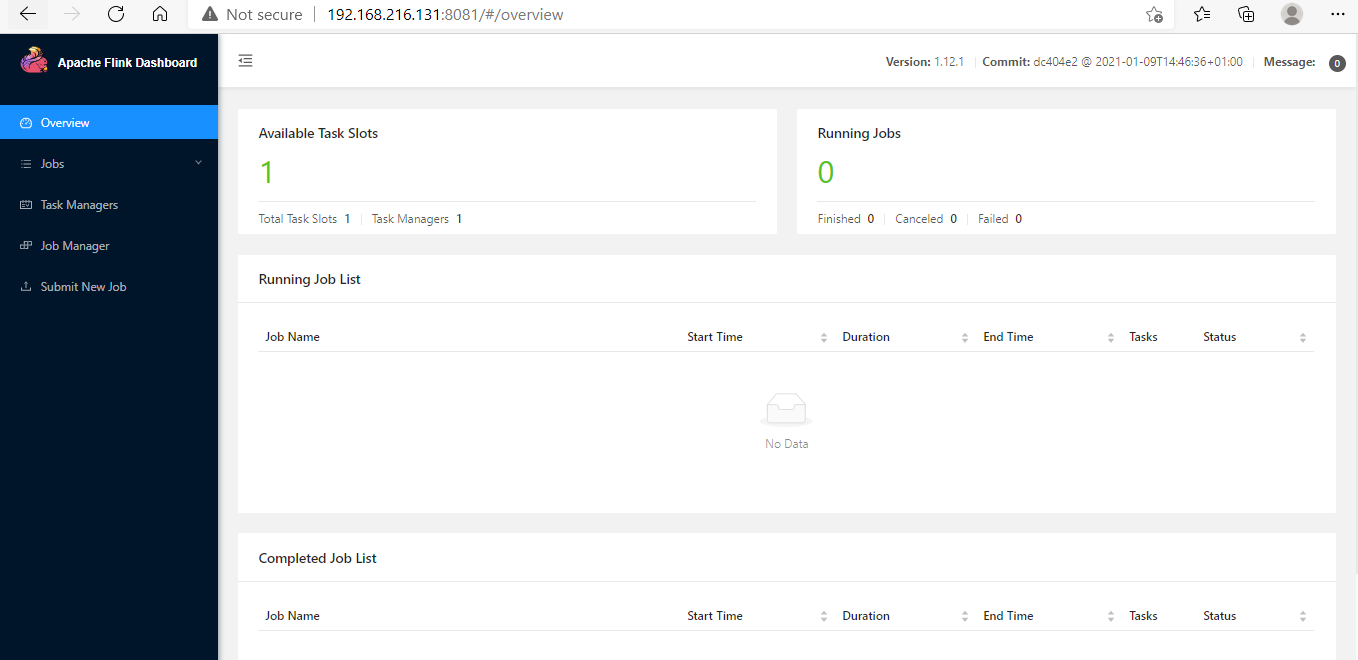
Step 6. We can check the Apache Flink web interface by opening a web browser and type "localhost:8081" or the IP address of the system and the port for example in our case the IP address of the Ubuntu system is 192.168.216.131 so we have used "192.168.216.131:8081" to open Apache Flink portal.