In this tutorial, we will go through the steps to install Apache Kafka (Version 2.6.0) and zookeeper (Version 3.6.1) on Ubuntu 18.04.4 LTS (Bionic Beaver), Once the installation is completed then we can use Apache Kafka to perform the streaming operation.
Platform
- Operating System (OS). You can use Ubuntu 18.04.4 LTS version or later version, also you can use other flavors of Linux systems like Redhat, CentOS, etc.
- Kafka. We have used Apache Kafka 2.6.0 version for installation.
- zookeeper. We have used the Apache zookeeper 3.6.1 version for installation.
Download Software
- Kafka
- zookeeper
https://downloads.apache.org/kafka/2.6.0/kafka_2.12-2.6.0.tgz
https://archive.apache.org/dist/zookeeper/zookeeper-3.6.1/apache-zookeeper-3.6.1-bin.tar.gz
Steps to Install Apache Kafka version(2.6.0) and zookeeper version(3.6.1) on Ubuntu 18.04.4 LTS
Step 1. Verify Java Installation
Please verify if Java is installed using the below command.
$ java –version
Step 1.1 Download Java and install
If Java is not installed then please install it using the below command.
$ sudo apt-get install openjdk-8-jdk
Step 1.2 Set Java Path
Once Java installation is completed then set JAVA_HOME path in “.bashrc” file.
$ nano .bashrc
export JAVA_HOME=/usr/lib/jvm/java-8-openjdk-amd64/
export PATH=$JAVA_HOME/bin:$PATH
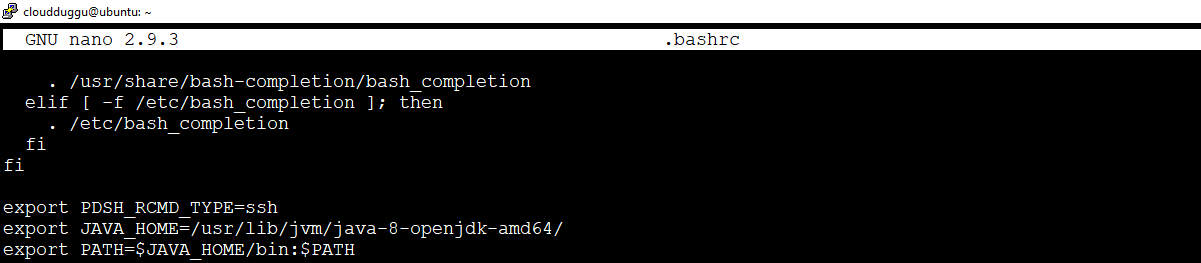
Press CTRL + O to save the file. Once the file is saved press CTRL+X to exit from the editor.
After this run the below command to reflect changes in the current running terminal.
$ source ~/.bashrc
Step 1.3 Verify Java
Perform Step 1 to check Java installation.
Step 2. ZooKeeper Installation
Zookeeper is used by Apache Kafka to store metadata about Kafka cluster.
Let us see the installation of ZooKeeper.
Step 2.1 Download ZooKeeper
Please download ZooKeeper from the below link. We have used the zookeeper-3.6.1 version.
On Linux: $wget https://archive.apache.org/dist/zookeeper/zookeeper-3.6.1/apache-zookeeper-3.6.1-bin.tar.gz
On Windows: https://archive.apache.org/dist/zookeeper/zookeeper-3.6.1/apache-zookeeper-3.6.1-bin.tar.gz

Step 2.2 Extract ZooKeeper tar File
Extract the tar file using the below command and rename the folder to "zookeeper" to make it meaningful.
$cloudduggu@ubuntu:~$ tar –xzf apache-zookeeper-3.6.1-bin.tar.gz
$cloudduggu@ubuntu:~$ mv apache-zookeeper-3.6.1-bin zookeeper
Step 2.3 Create Configuration File for ZooKeeper
Create a directory where snapshot will be stored, we have created a “data” directory under “zookeeper”. Now go to the “conf” directory of a zookeeper and create “zoo.cgf” configuration file from the sample file and put it below configuration.
$cloudduggu@ubuntu:~/zookeeper$ mkdir data
$cloudduggu@ubuntu:~/zookeeper$ cd conf/
$cloudduggu@ubuntu:~/zookeeper/conf$ cp zoop_sample.cfg zoo.cfg
$cloudduggu@ubuntu:~/zookeeper/conf$ nano zoo.cfg
Put below parameters in “zoo.cfg: file.
    tickTime=2000
    initLimit=10
    syncLimit=5
    dataDir=/home/cloudduggu/zookeeper/data
    clientPort=2181

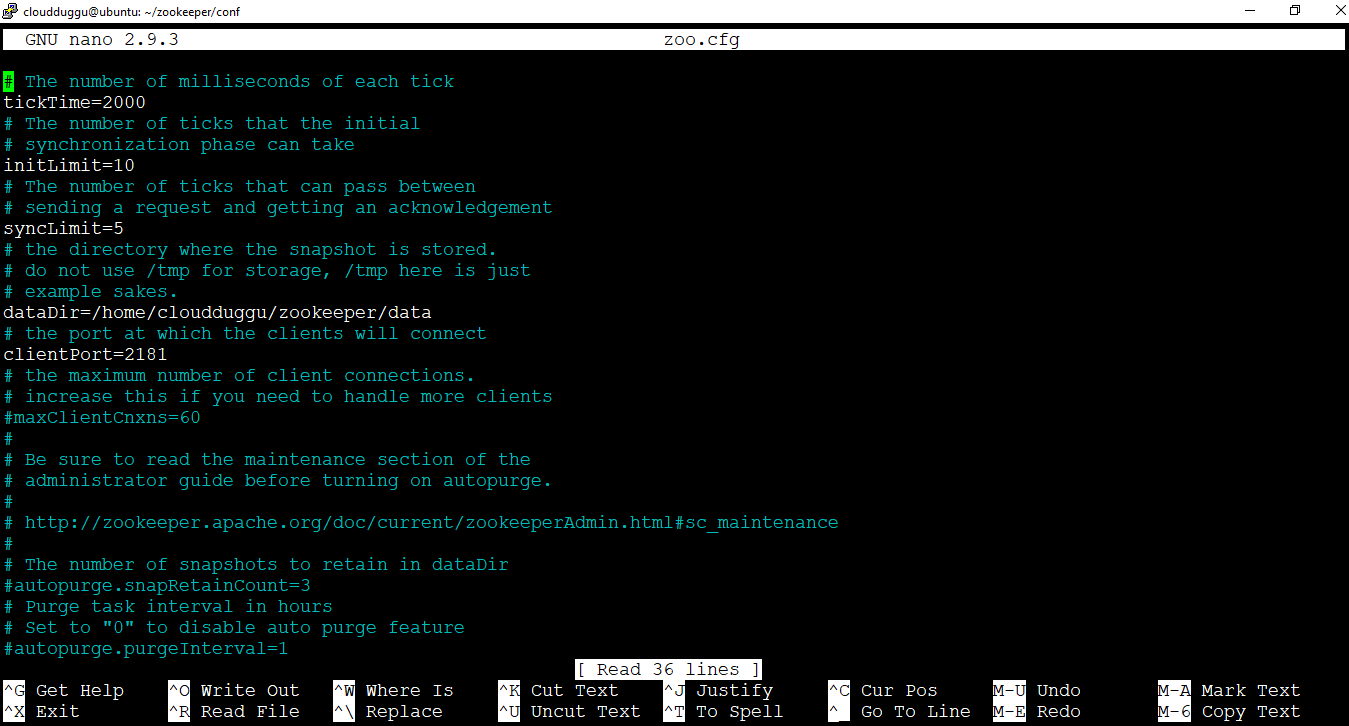
Press CTRL + O to save the file. Once the file is saved press CTRL+X to exit from the editor.
Step 2.4 Start ZooKeeper Server
Now start zookeeper using below command.
$cloudduggu@ubuntu:~/zookeeper$ ./bin/zkServer.sh start

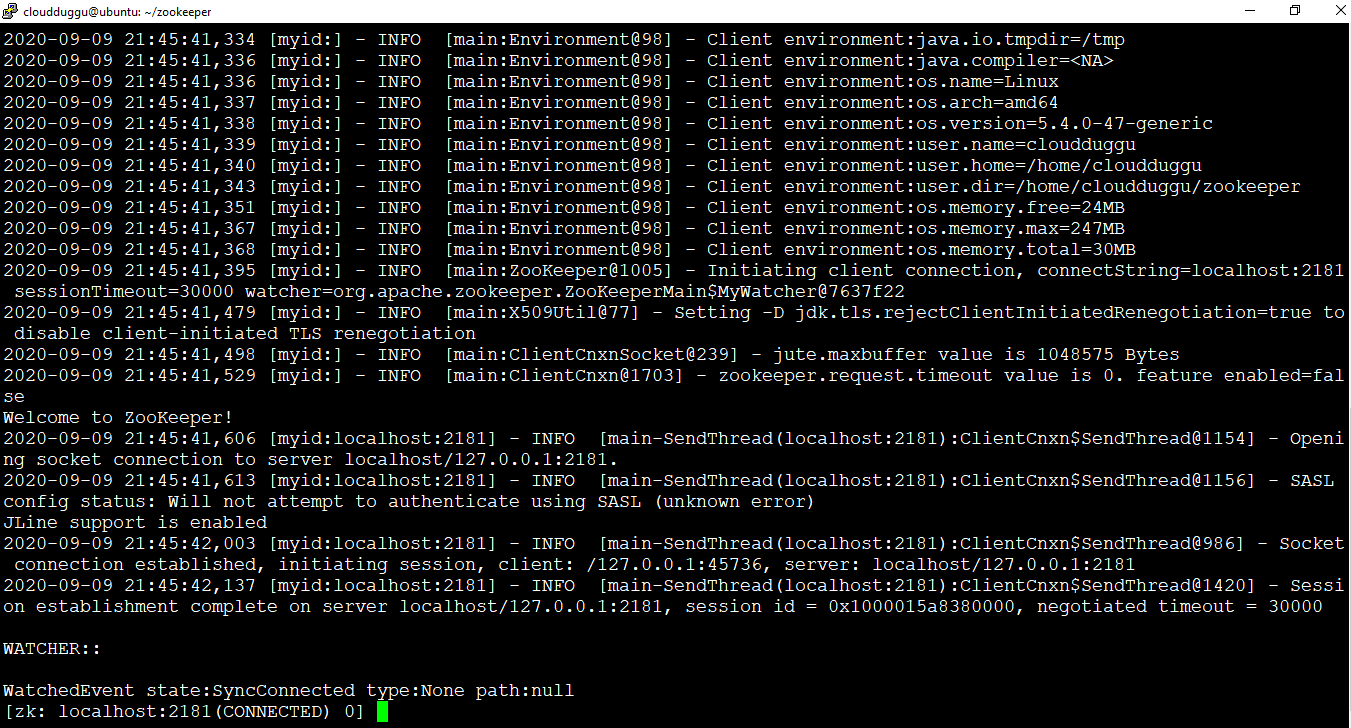
Step 2.5 Start ZooKeeper Command Line Interface
We can start zookeeper CLI using below command
$cloudduggu@ubuntu:~/zookeeper$ ./bin/zkCli.sh

Step 2.6 Stop ZooKeeper Server
We can use the below command to stop the ZooKeeper Server.
$cloudduggu@ubuntu:~/zookeeper$ ./bin/zkServer.sh stop

Step 3. Apache Kafka Installation
Let us start Apache Kafka Installation.
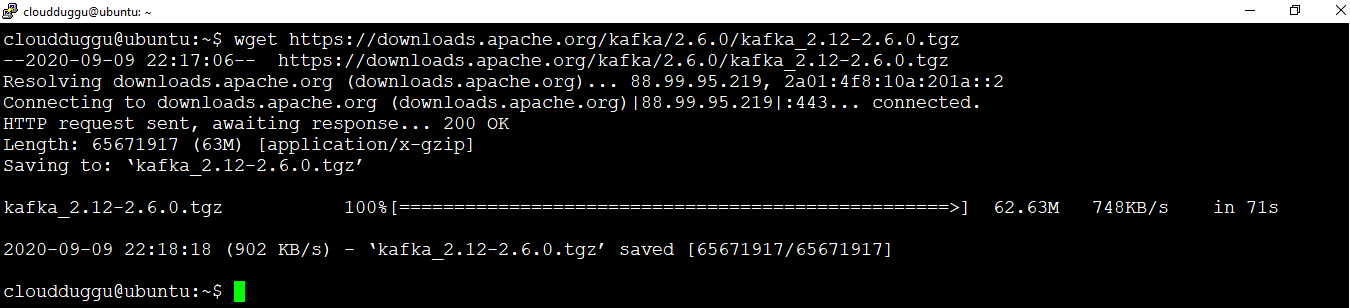
Step 3.1 Download Kafka
Please download Kafka from the below link. We have used the Kafka-2.6.0 version.
On Linux: $wget https://downloads.apache.org/kafka/2.6.0/kafka_2.12-2.6.0.tgz
On Windows: https://downloads.apache.org/kafka/2.6.0/kafka_2.12-2.6.0.tgz
Step 3.2 Extract Kafka tar File
Extract the tar file using the below command and rename the folder to "kafka" to make it meaningful.
$cloudduggu@ubuntu:~$ tar –xzf kafka_2.12-2.6.0.tgz
$cloudduggu@ubuntu:~$ mv kafka_2.12-2.6.0 kafka

Step 3.3 Start Kafka Server
We can start Apache Kafka server using below command.
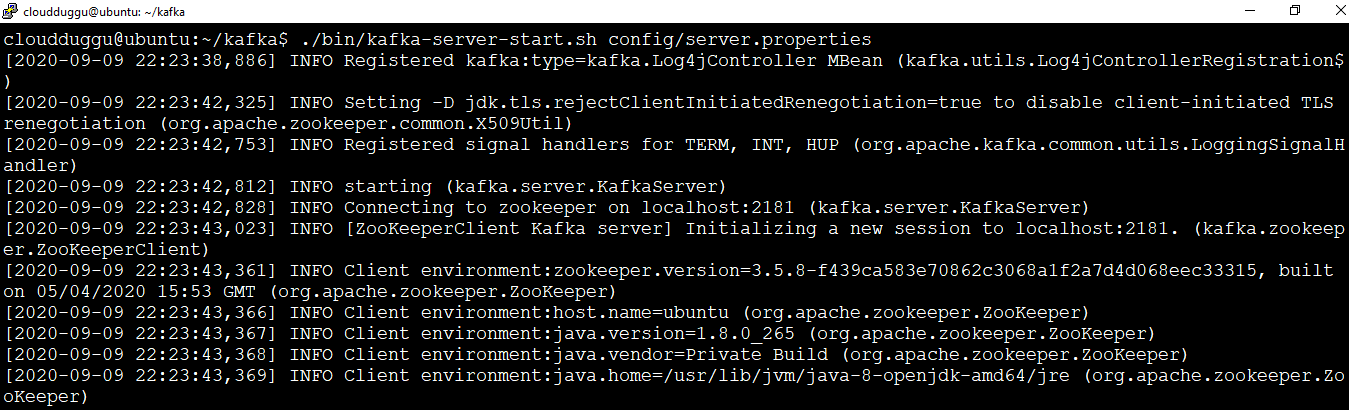
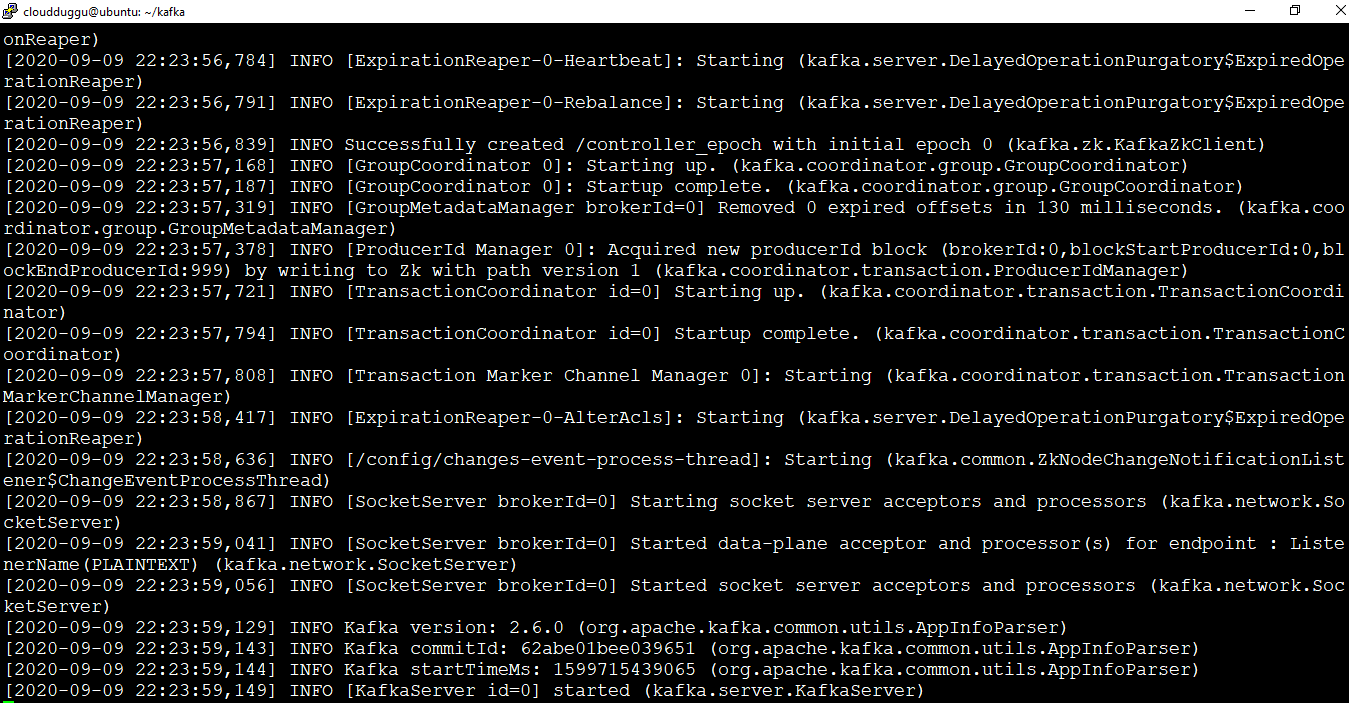
$cloudduggu@ubuntu:~/kafka$ ./bin/kafka-server-start.sh config/server.properties
Step 3.4 Stop Kafka Server
After operating we can stop the Apache Kafka server using the below command.
$cloudduggu@ubuntu:~/kafka$ ./bin/kafka-server-stop.sh config/server.properties
