In this tutorial, we will go through the step-by-step process to set up the Apache Solr version(8.8.1) on Apache Hadoop(3.1.2). The operating system we are using is Ubuntu 18.04.4 LTS (Bionic Beaver).
Platform
- Operating System (OS). We have used Ubuntu 18.04.4 LTS version for the operating system.
- Hadoop. The Hadoop version(3.1.2) setup is already done (Please refer to the "Hadoop Installation on Single Node” tutorial and complete the installation of Hadoop after that set up the Apache Solr.)
- Solr. Apache Solr version(8.8.1) has been used in this tutorial.
Download Software
Steps to Install Apache Solr version(8.8.1) on Apache Hadoop(3.1.2)
Let us see the Apache Solr installation using the following steps.
Step 1. Since we are configuring the Solr on the Hadoop environment in this case the Hadoop should be installed on the system. Please follow the above-mentioned link to install Hadoop.
Step 2. Please ensure JAVA 8 or the upper version of JAVA is installed. (please refer to Hadoop single node installation for the same).
Step 3. Download the Apache Solr 8.8.1 from the below link.
On Linux: $wget https://mirrors.estointernet.in/apache/lucene/solr/8.8.1/solr-8.8.1.tgz
On Windows: https://mirrors.estointernet.in/apache/lucene/solr/8.8.1/solr-8.8.1.tgz


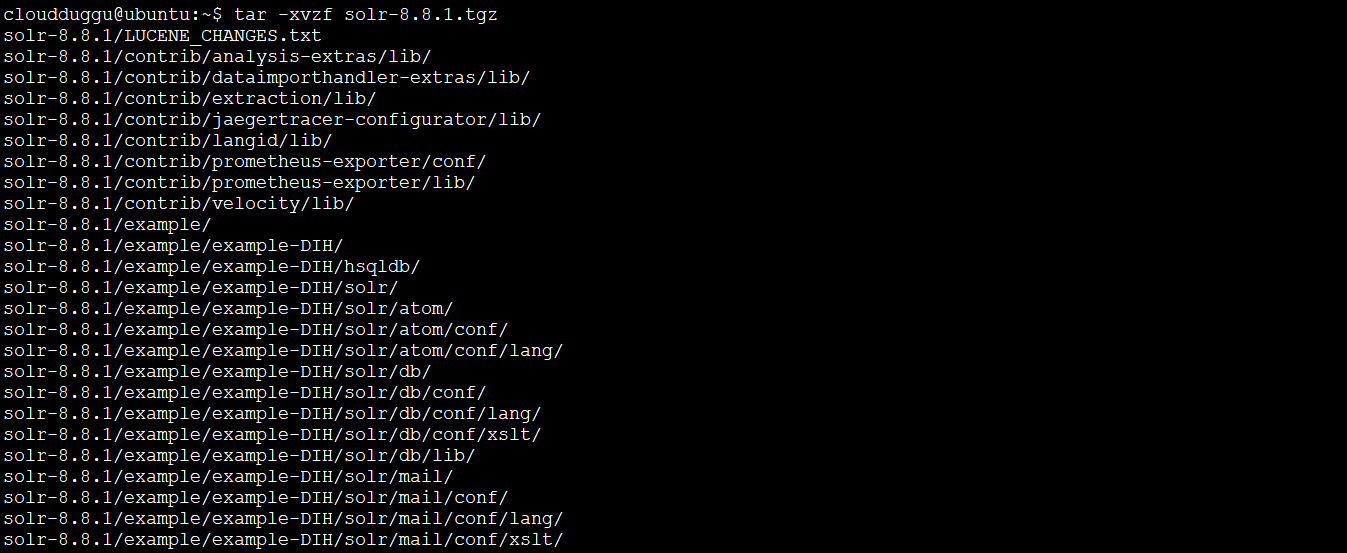
Step 4. Now extract the tar file that we have downloaded using the "wget" command. Use the below command to extract it.
cloudduggu@ubuntu:~$ tar -xvzf solr-8.8.1.tgz
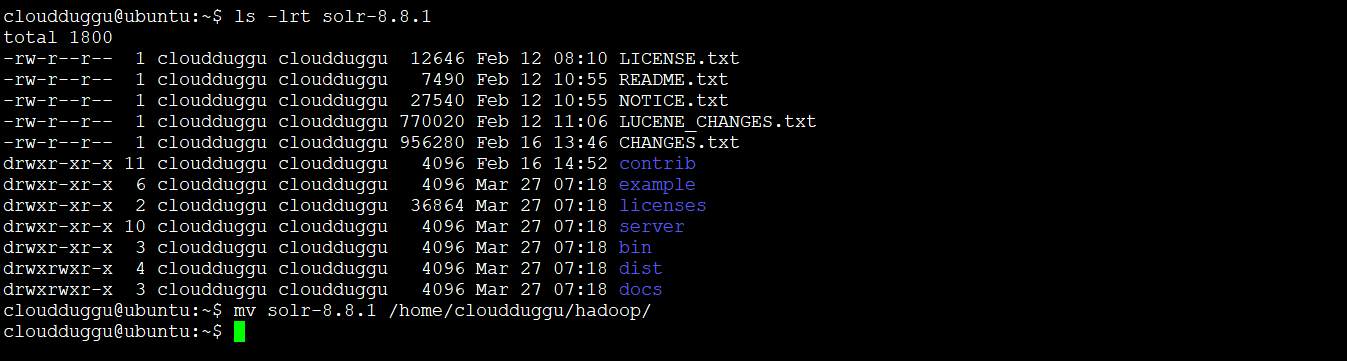
Step 5. Now move the solr-8.8.1 directory into the already set up Hadoop home directory. Use the below command to do that.
cloudduggu@ubuntu:~$ mv solr-8.8.1 /home/cloudduggu/hadoop/
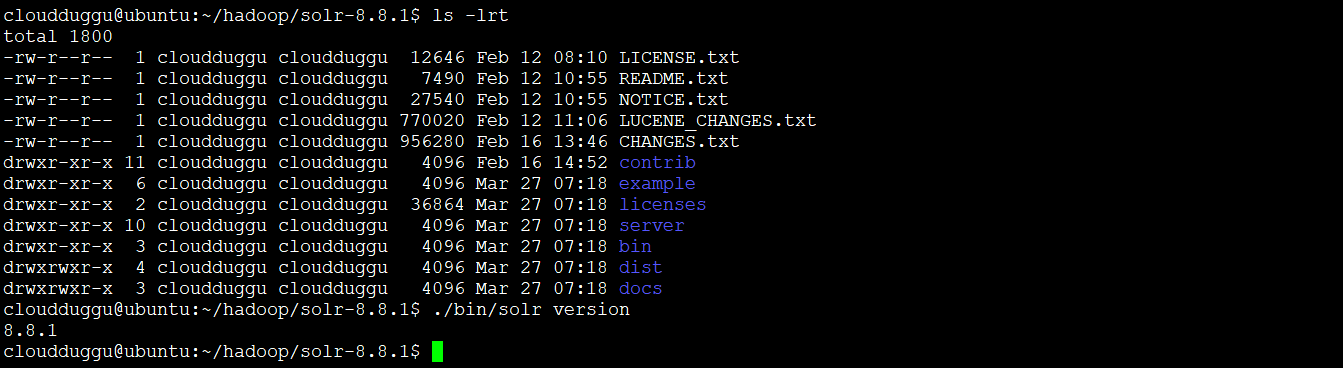
Step 6. After this go to the Solr home directory and verify the Solr installation by checking the version of Solr. Use the below command to check the version of Solr.
cloudduggu@ubuntu:~/hadoop/solr-8.8.1$ ./bin/solr version
We can see the Solr version is projected using the "./bin/solr -version" command.
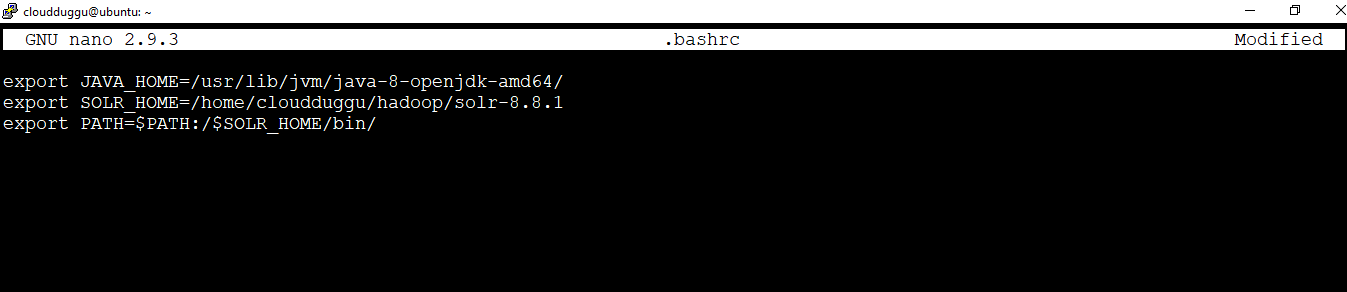
Step 7. Now let us set up the Solr environment variable in the ".bashrc" file so that we can access it from any directory. Open the .bashrc file using the below command and put the home path of Solr.
cloudduggu@ubuntu:~$ nano .bashrc
In our case, the home path of Solr is as below. Please verify your Solr Home path.
export SOLR_HOME = /home/cloudduggu/hadoop/solr-8.8.1
export PATH = $PATH:/$SOLR_HOME/bin/
Now press the CTRL+O to save the file and CTRL+X to exit from the nano editor.
Step 8. After all the above configurations, now it's time to start the Apache Solr. Use the below command to start Solr.
cloudduggu@ubuntu:~/hadoop/solr-8.8.1$ ./bin/solr start
Once the Solr is started, we will receive the below output shows in the snapshot. By default, Solr is started at 8983 port.

Step 9. We can open the Solr web interface as well using the "localhost:8983" command or using the system IP and the port. We have used our system IP and port to open the Solr web interface.
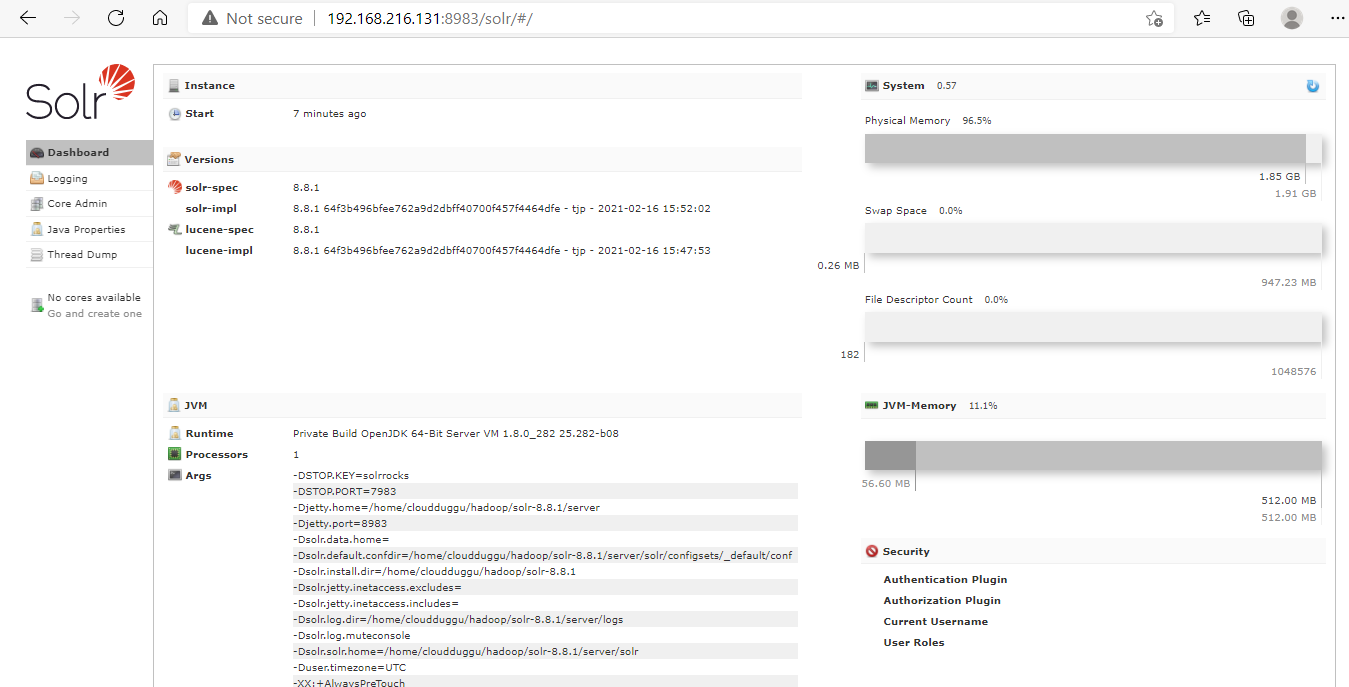
So now we have completed the Solr installation on the Hadoop framework.