This tutorial has been prepared to provide the step by step process to set up the Apache Hive (Version 3.1.2) on Apache Hadoop (Version 3.3.0) with MySQL(Version 5.7.32). Once the setup is completed post that you can run Apache Hive projects.
Platform
- Operating System (OS).We have used Ubuntu 18.04.4 LTS version, You can use this version or some other flavors of Linux as well.
- Hadoop. We have used Apache Hadoop 3.1.2 version on which we will run Apache Hive "Hadoop Installation on Single Node” tutorial and install Hadoop first before proceeding with Apache Hive installation.)
- Hive. We have used the Apache Hive-3.1.2 version for this setup.
- MySQL. We have used the MySQL(Version 5.7.32) version for this setup.
Steps to Setup Apache Hive With Apache Hadoop and MySQL
Please follow the following steps to set up Apache Hive with Hadoop and Mysql.
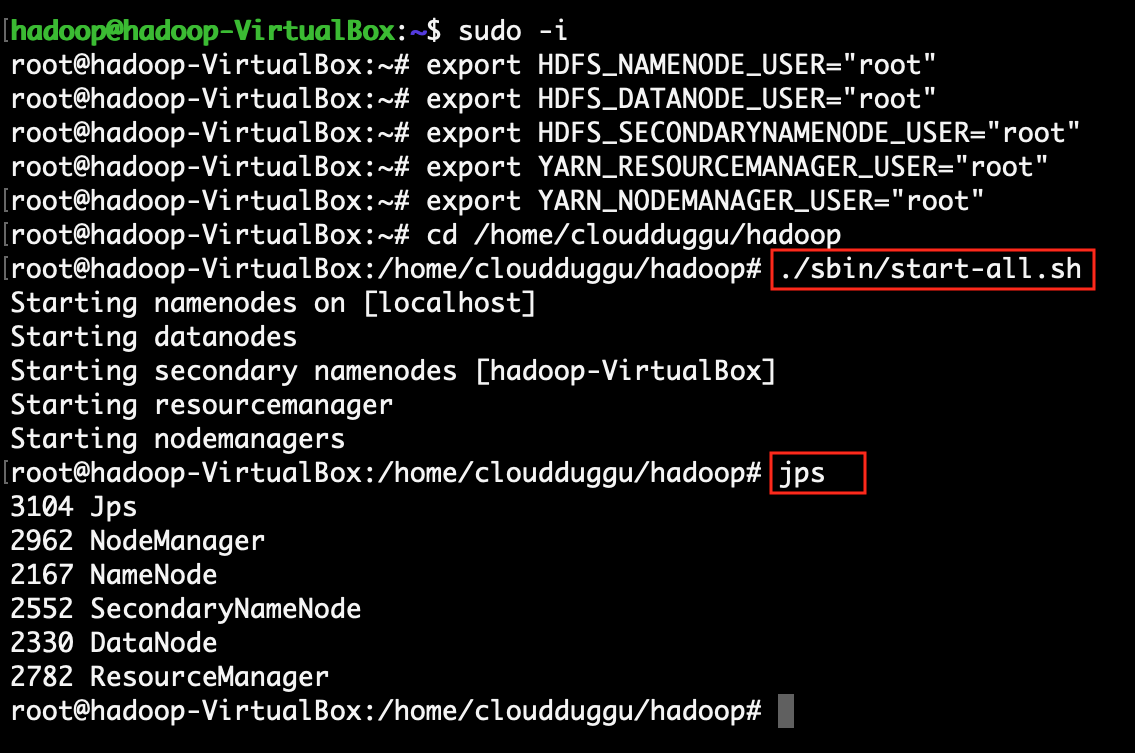
Step 1: Verify the Hadoop is running ok.
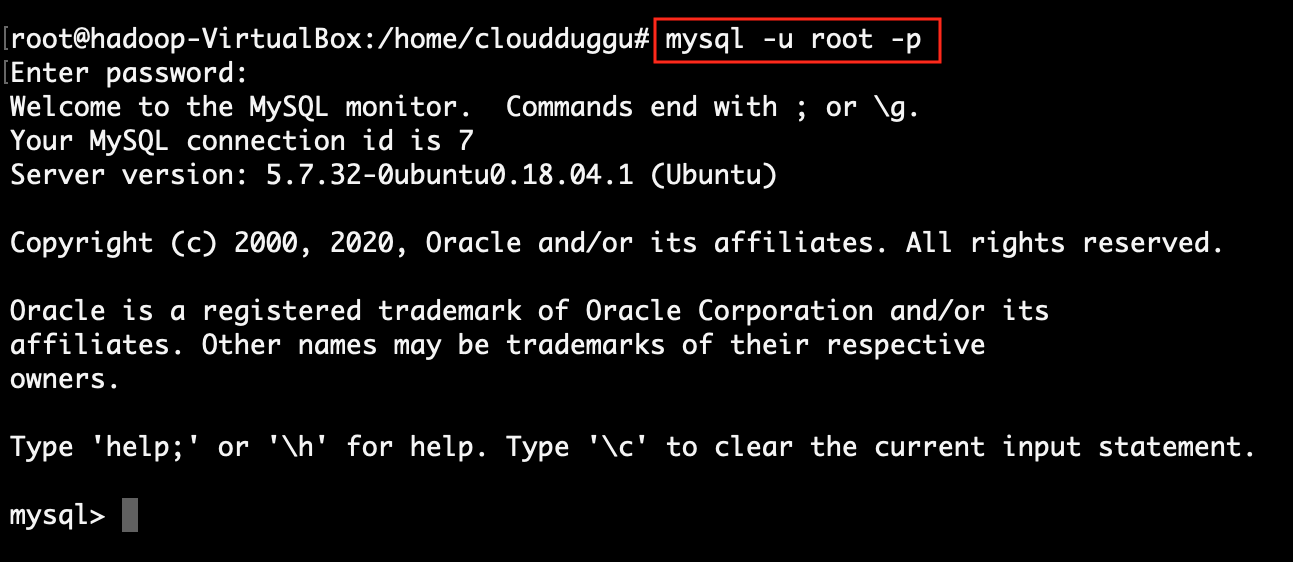
Step 2: Verify the MySQL is running ok.
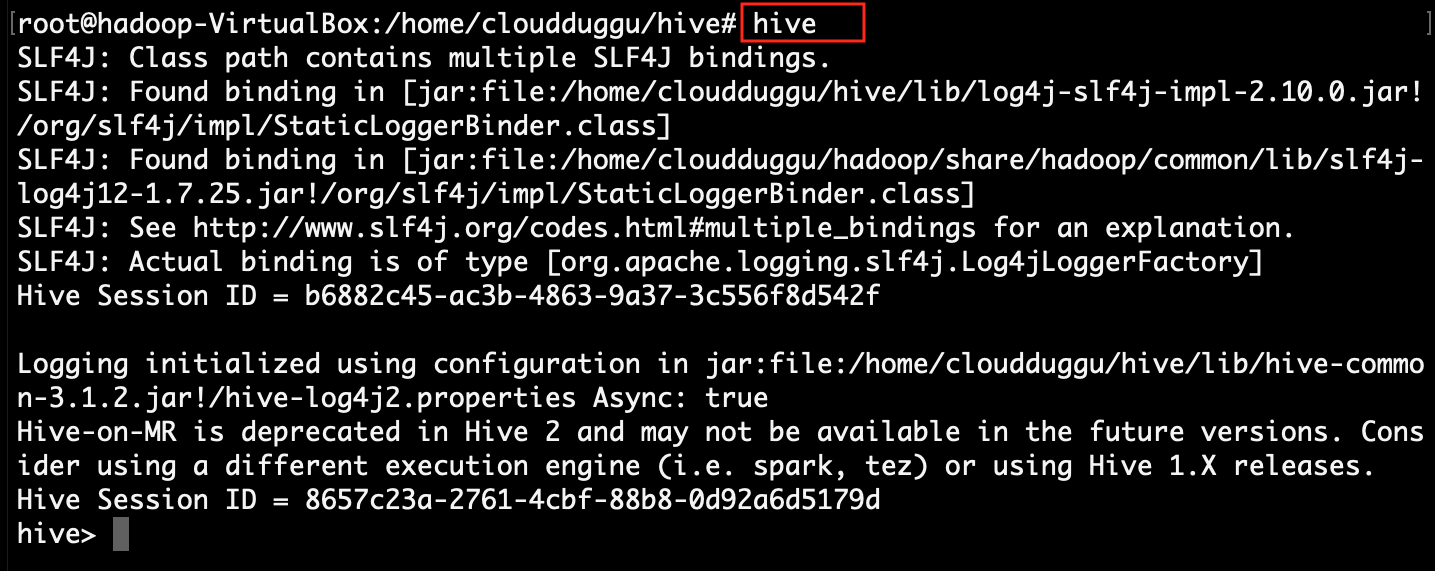
Step 3: Verify the Hive is running ok.
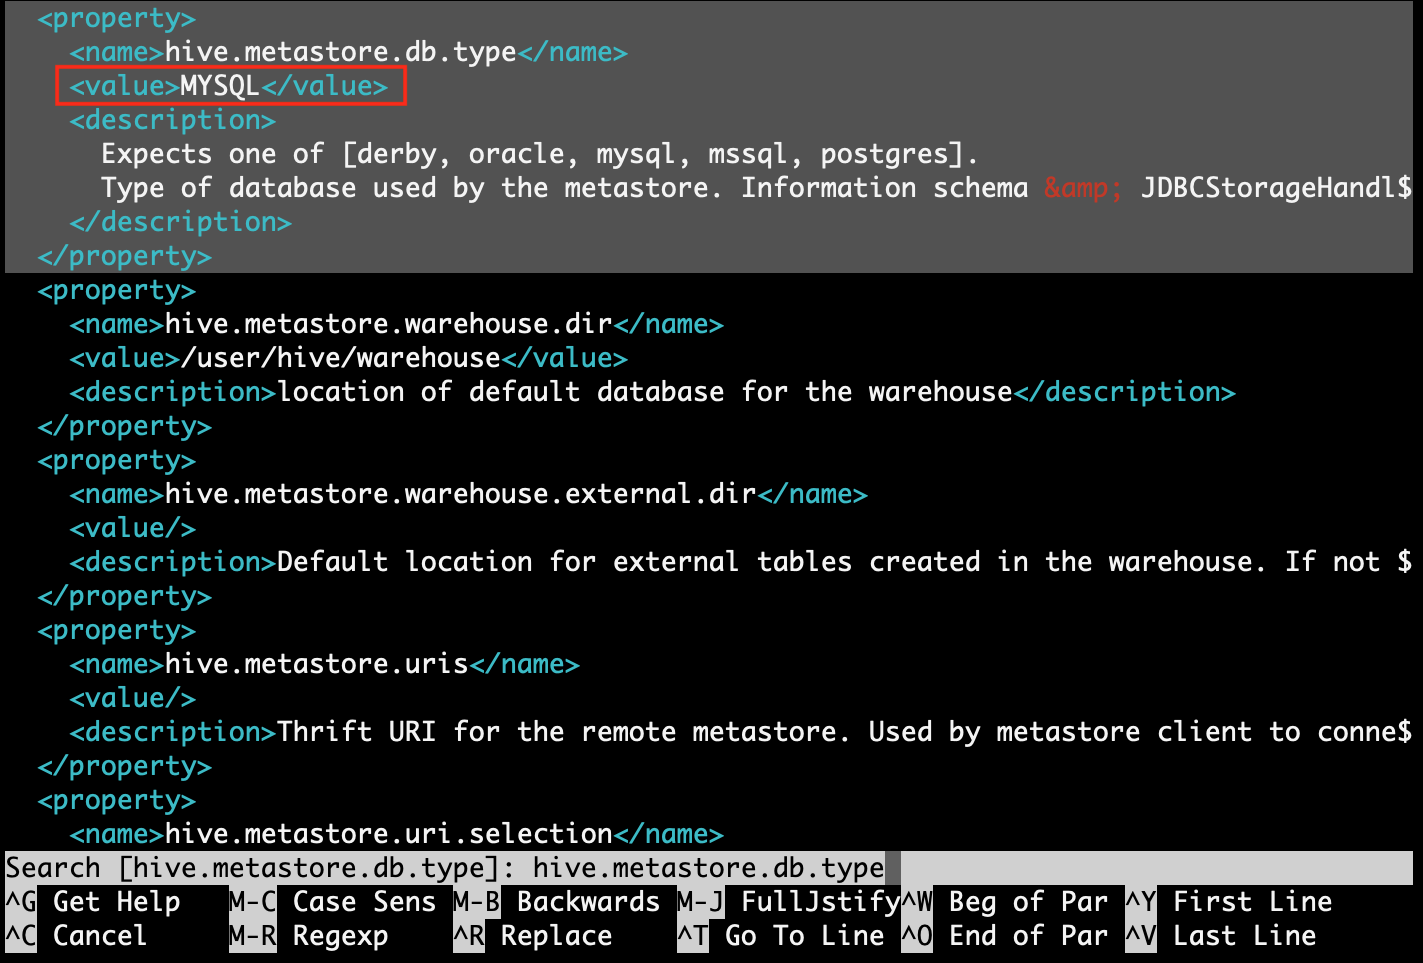
Step 4: Replace default Derby database configuration with MySQL configuration details into the hive-site.xml config file.
root@hadoop:~# nano $hive_home/conf/hive-site.xml
Step 4.1: find property [hive.metastore.db.type] and replace value with [MYSQL]
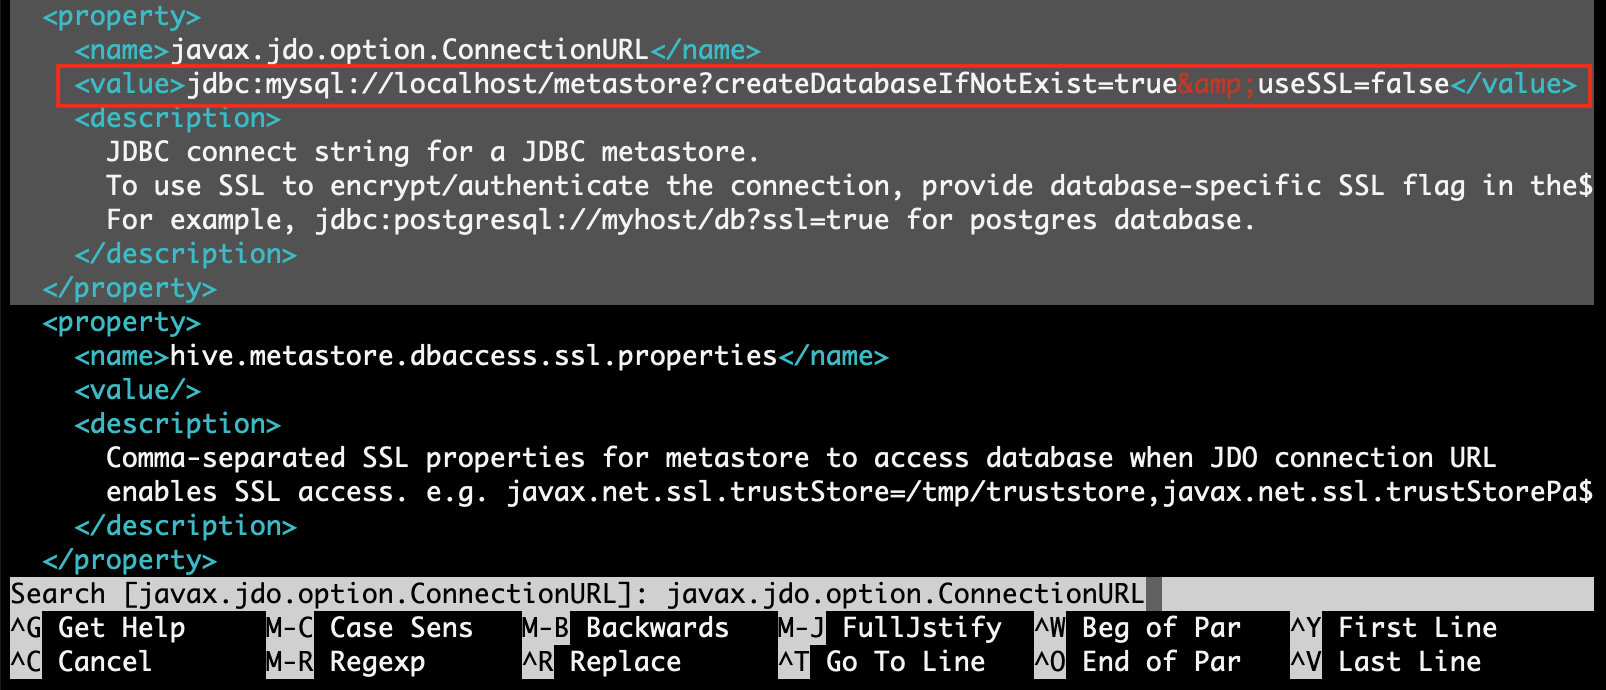
Step 4.2: find property [javax.jdo.option.ConnectionURL] and replace value with [jdbc:mysql://localhost/metastore?createDatabaseIfNotExist=true&useSSL=false]
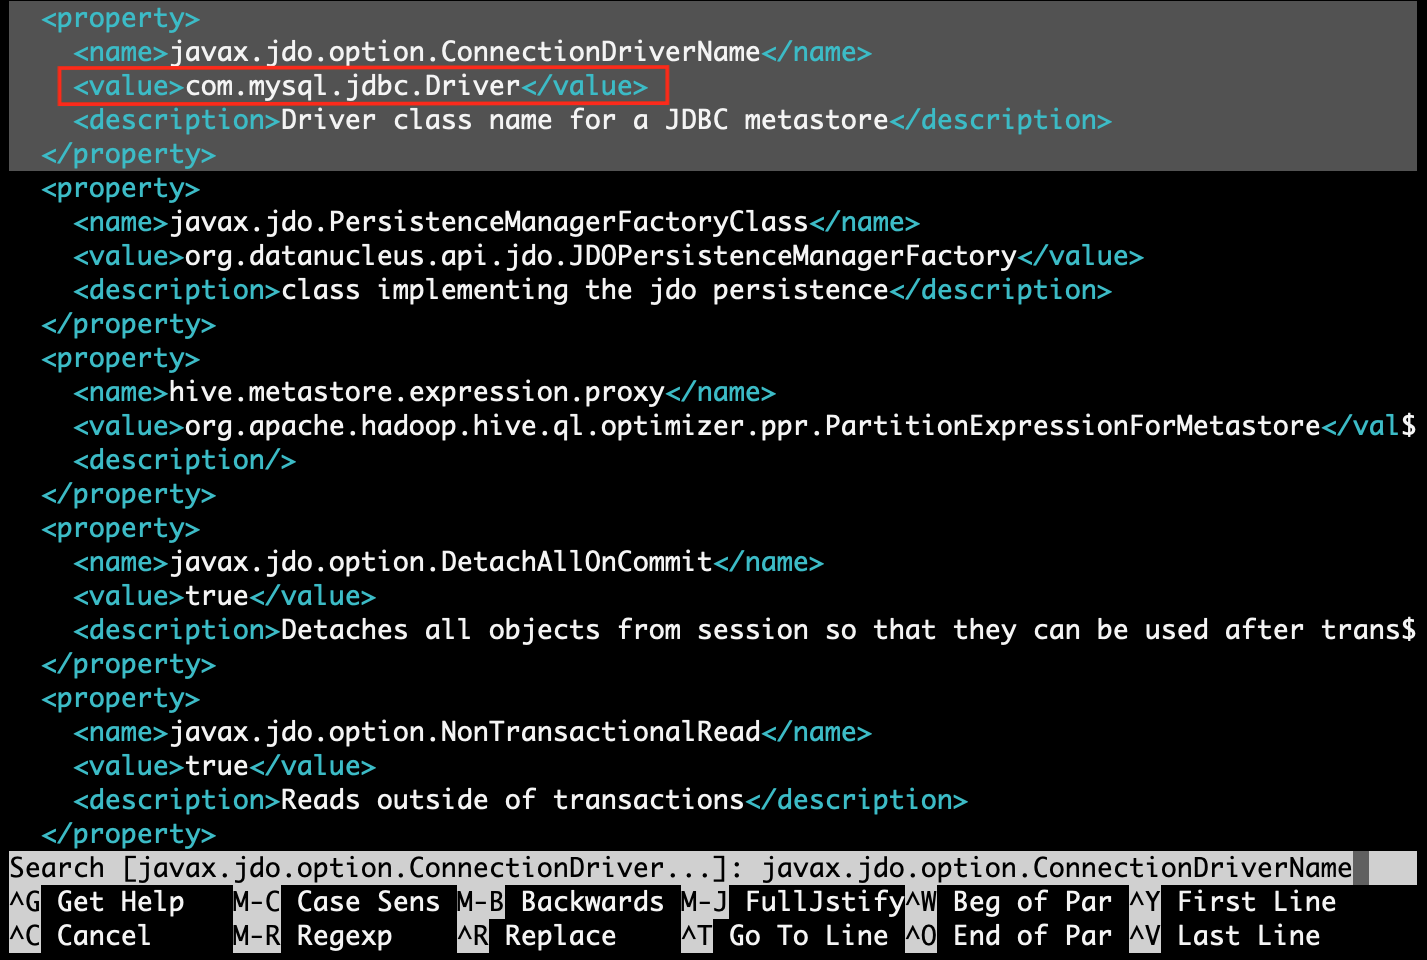
Step 4.3: find property [javax.jdo.option.ConnectionDriverName] and replace value with [com.mysql.jdbc.Driver]
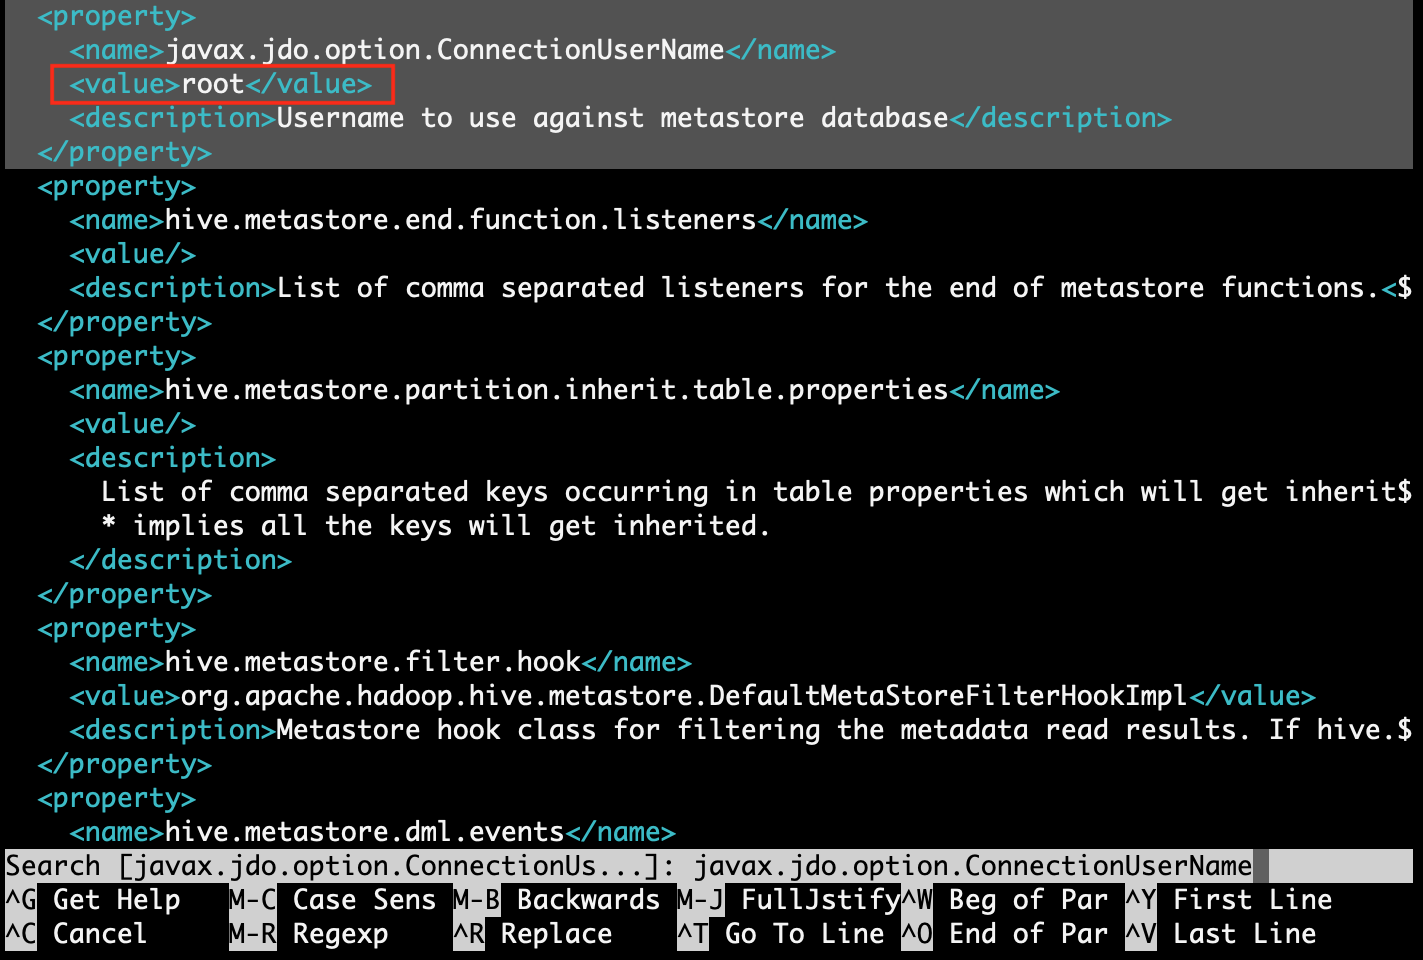
Step 4.4: find property [javax.jdo.option.ConnectionUserName] and replace value with MySQL username. Here MySQL username is [root]
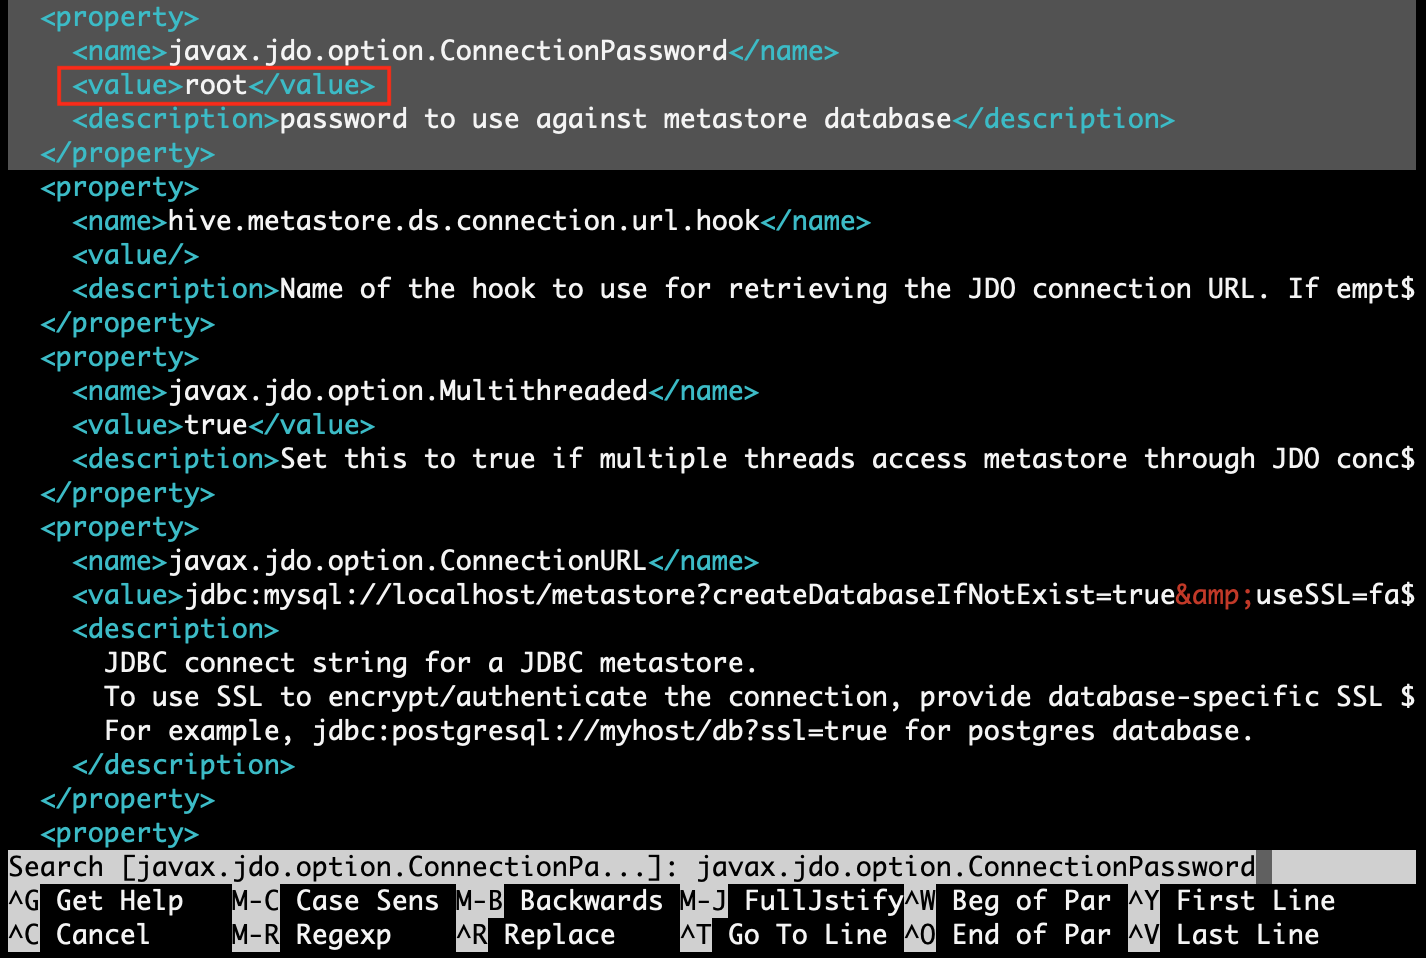
Step 4.5: find property [javax.jdo.option.ConnectionPassword] and replace value with MySQL password. Here MySQL password is [root]
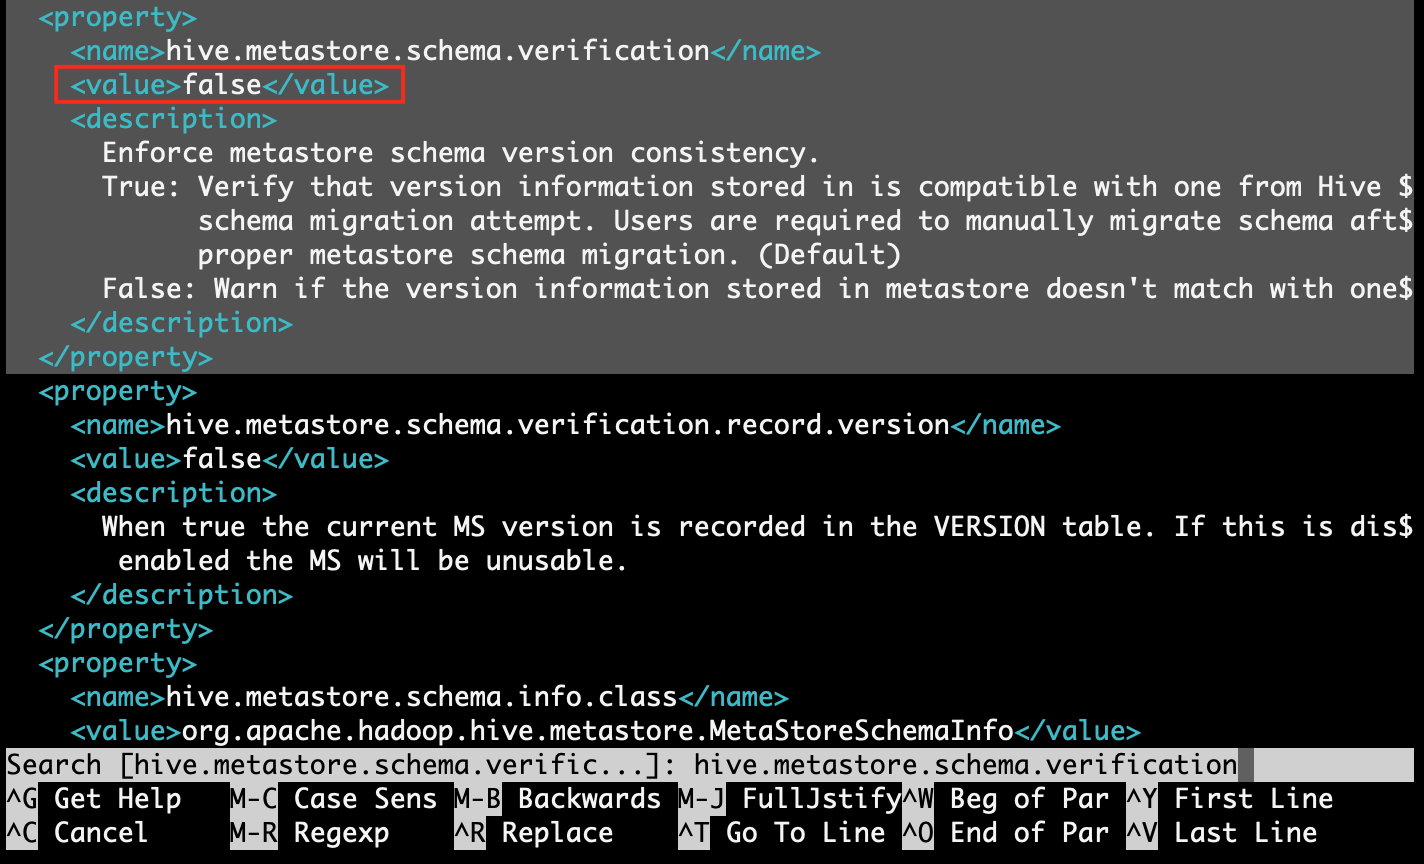
Step 4.5: find property [hive.metastore.schema.verification] and replace value with [false]
Step 5: Update jars into the hive lib folder for resolving compatibility issues with MySQL & Hadoop.
root@hadoop:~# ln -s /usr/share/java/mysql-connector-java.jar $hive_home/lib/mysql-connector-java.jar
root@hadoop:~# rm $hive_home/lib/guava*
root@hadoop:~# cp $hadoop_home/share/hadoop/common/lib/guava* $hive_home/lib/
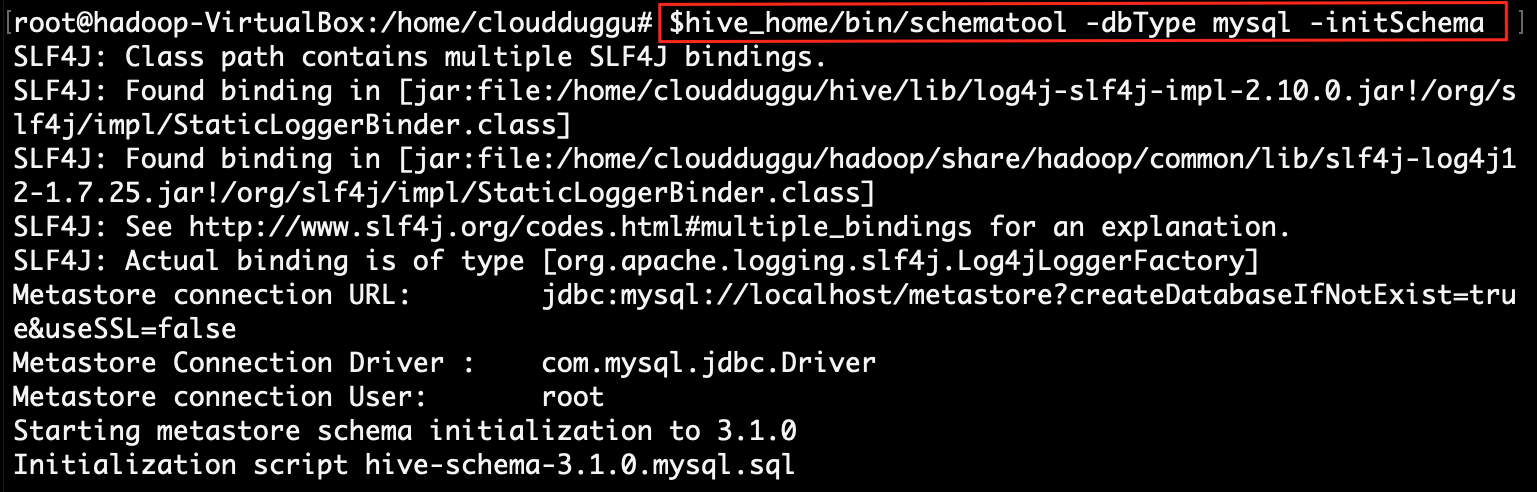
Step 6: Initialize Hive schema into the MySQL database, using the "schematool" command.
After initializing the hive schema, hive runs SQL script into MySQL and creates the database for the hive with the "metastore" name. All hive table related meta-information store in that database.root@hadoop:~# $hive_home/bin/schematool -dbType mysql -initSchema
Step 7: Now work on the updated configuration.
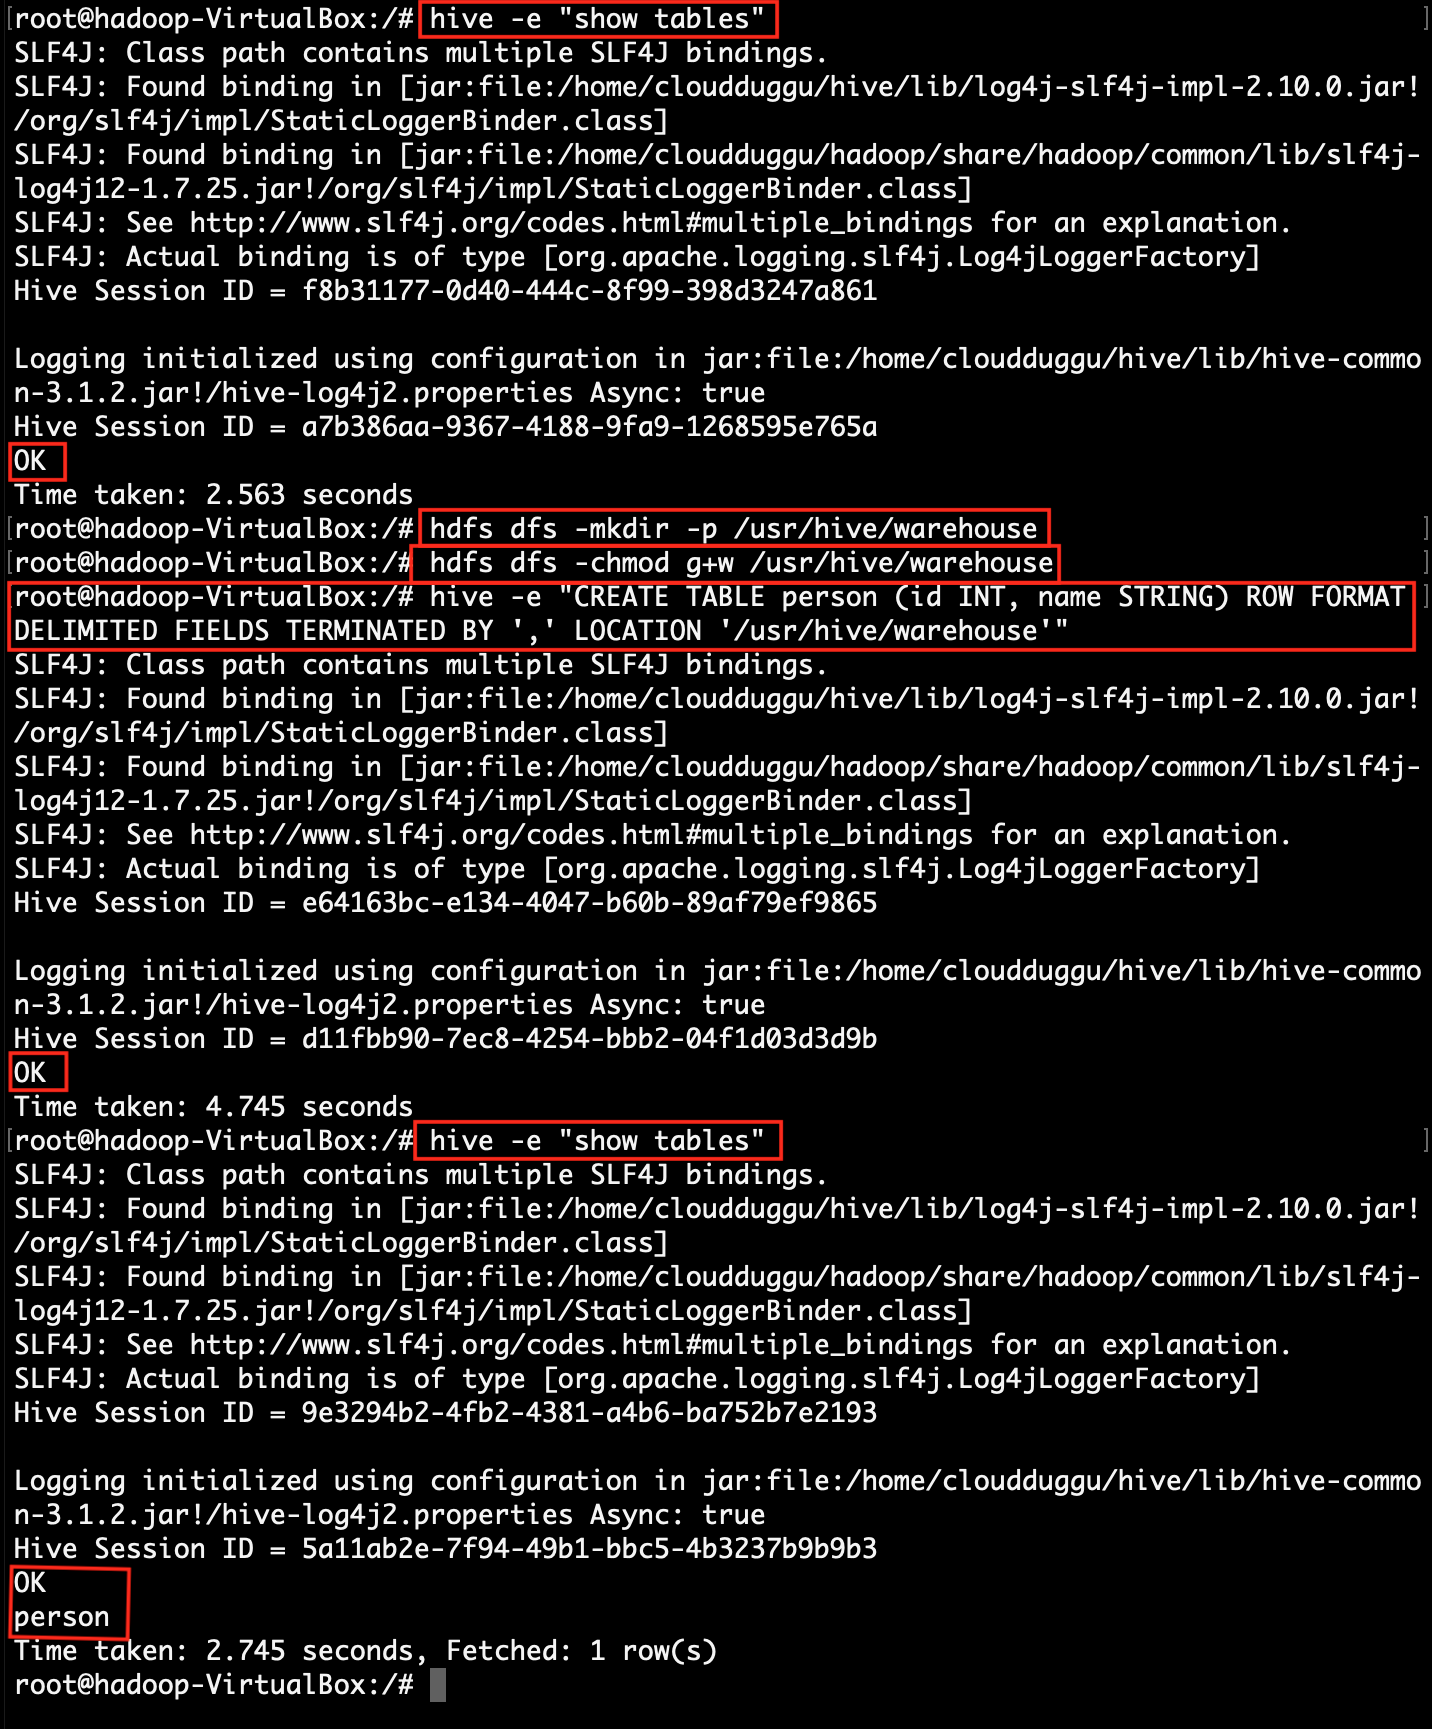
checklist of tables in the hive.
root@hadoop:~# hive -e "show tables"
create a folder in HDFS to store hive table data files and add permission to that folder.
root@hadoop:~# hdfs dfs -mkdir -p /usr/hive/warehouse
root@hadoop:~# hdfs dfs -chmod g+w /usr/hive/warehouse
Now create a table in hive.
root@hadoop:~# hive -e "CREATE TABLE person (id INT, name STRING) ROW FORMAT DELIMITED FIELDS TERMINATED BY ',' LOCATION '/usr/hive/warehouse'"
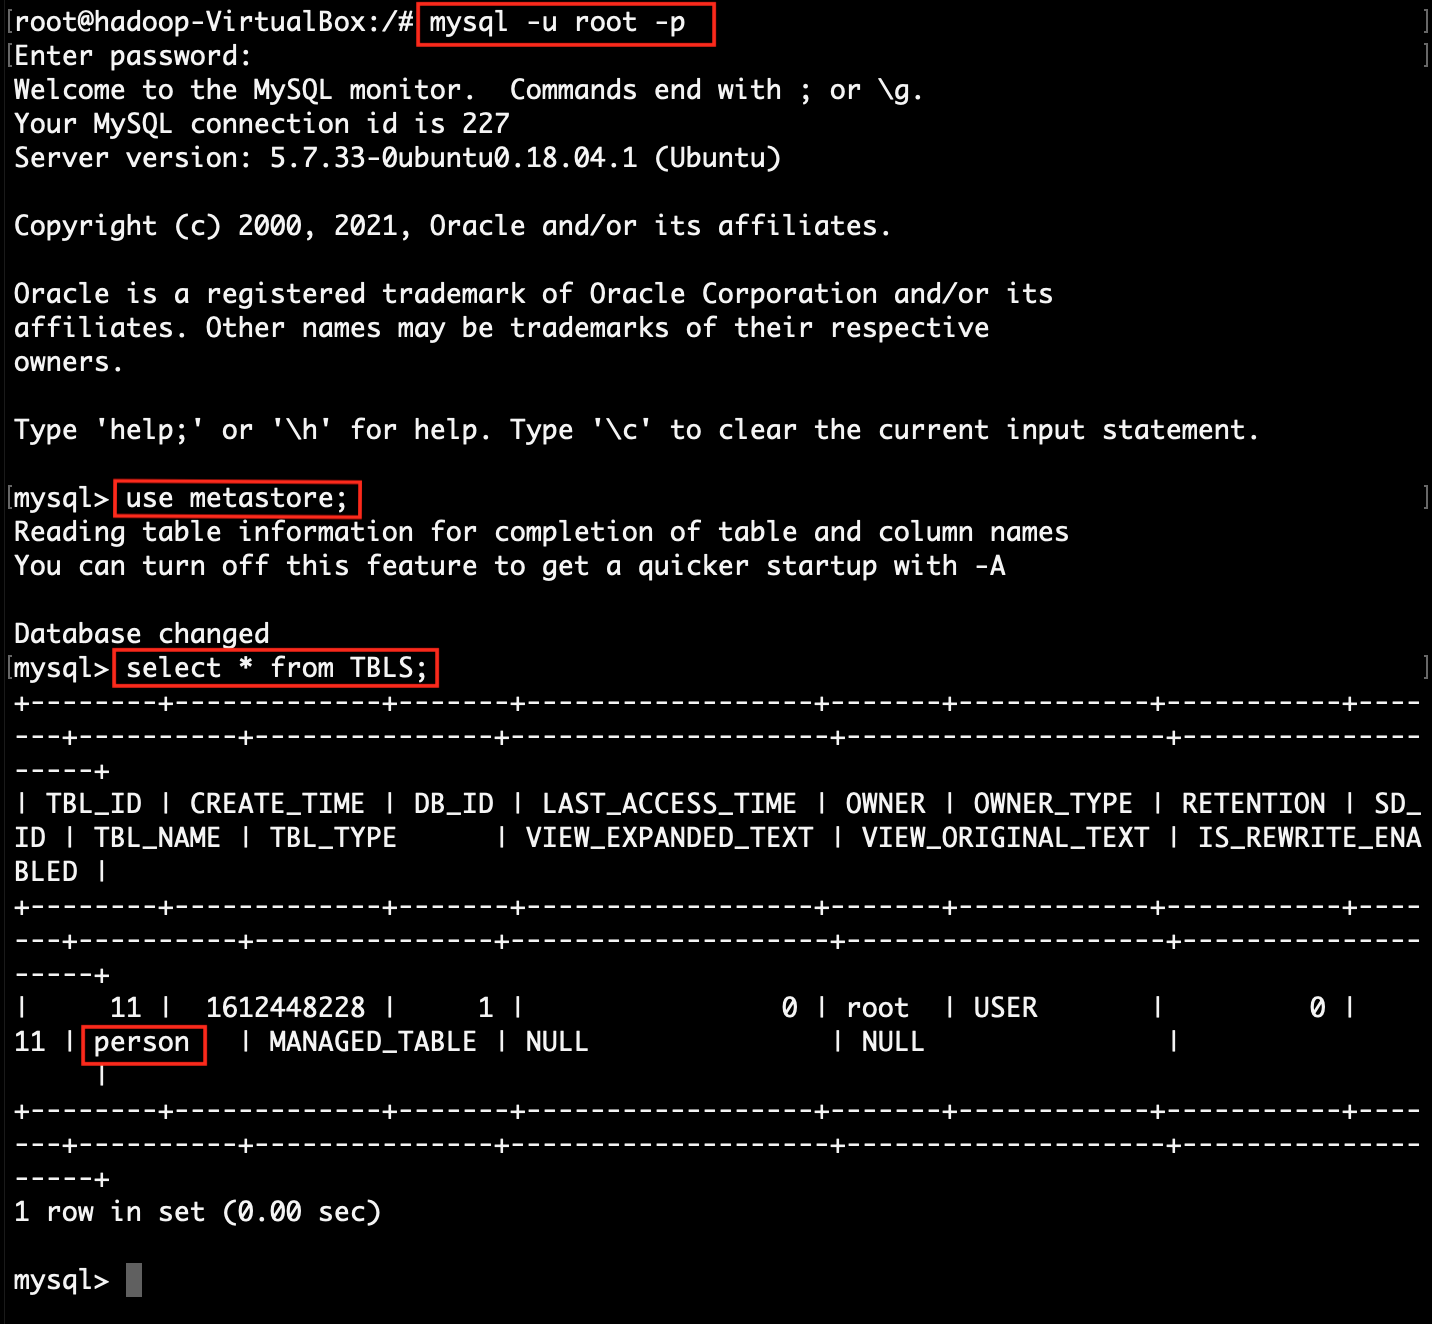
Step 8: Check created table details in MySQL.
mysql> use metastore;
mysql> select * from TBLS;
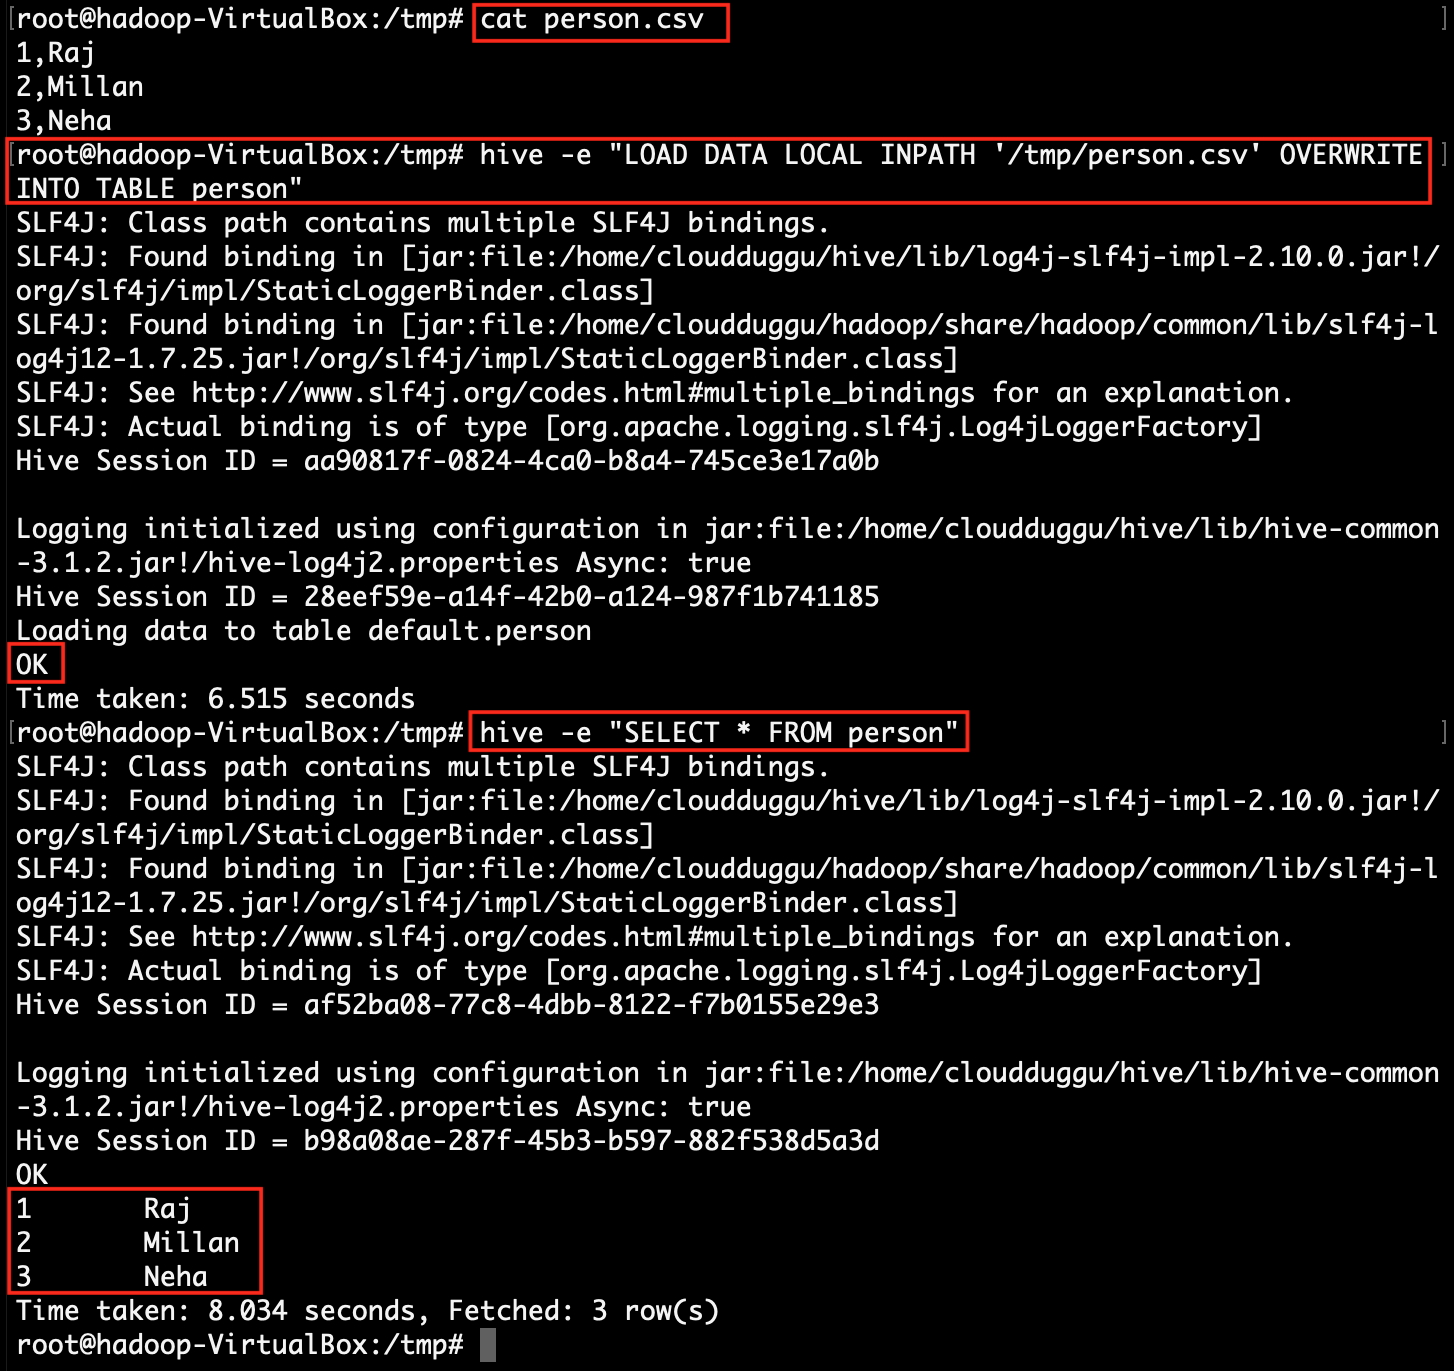
Step 9: Load CSV file data into hive table.
root@hadoop:~# hive -e "LOAD DATA LOCAL INPATH '/tmp/person.csv' OVERWRITE INTO TABLE person"
root@hadoop:~# hive -e "SELECT * FROM person"
Step 9: Verify data file store into HDFS file system.
root@hadoop:~# hdfs dfs -ls /usr/hive/warehouse
root@hadoop:~# hdfs dfs -cat /usr/hive/warehouse/person.csv
