The objective of this tutorial is to describe step by step process to install Hive (Version apache-hive-3.1.2-bin.tar.gz ) on Hadoop 3.1.2 version and the OS which we are using is Ubuntu 18.04.4 LTS (Bionic Beaver), once the installation is completed you can play with Hive.
Platform
- Operating System (OS). You can use Ubuntu 18.04.4 LTS version or later version, also you can use other flavors of Linux systems like Redhat, CentOS, etc.
- Hadoop. We have already installed Hadoop 3.1.2 version on which we will run Hive (Please refer to the "Hadoop Installation on Single Node” tutorial and install Hadoop first before proceeding with Hive installation.)
- Hive. We have used the Apache Hive-3.1.2 version, you can use Cloudera distribution or other distribution as well.
Download Software
- Hive
http://archive.apache.org/dist/hive/hive-3.1.2/apache-hive-3.1.2-bin.tar.gz
Steps to Install Apache Hive version(3.1.2) on Ubuntu 18.04.4 LTS
Please follow the below steps to install Hive.
Step 1. Since we are configuring the Solr on the Hadoop environment in this case the Hadoop should be installed on the system.
Step 2. Please verify if Java is installed.
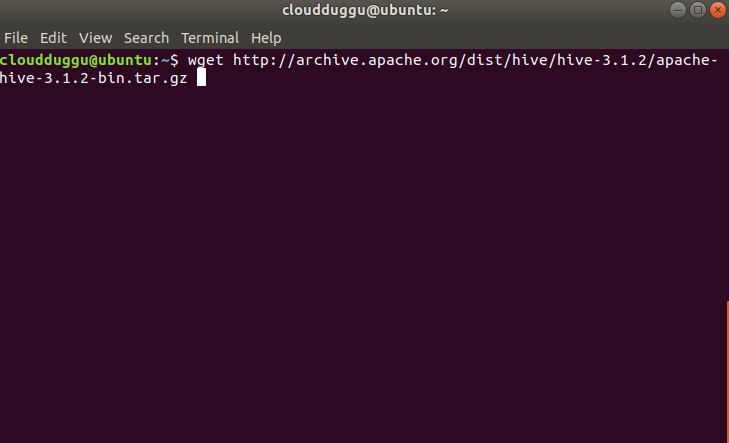
Step 3. Please download Hive 3.1.2 from the below link.
On Linux: $wget http://archive.apache.org/dist/hive/hive-3.1.2/apache-hive-3.1.2-bin.tar.gz
On Windows: http://archive.apache.org/dist/hive/hive-3.1.2/apache-hive-3.1.2-bin.tar.gz
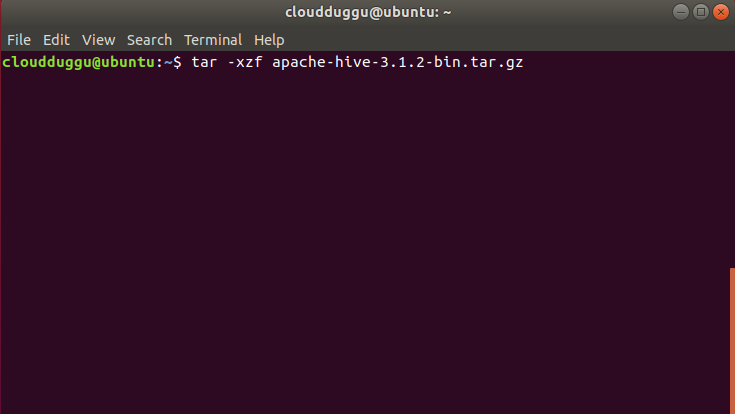
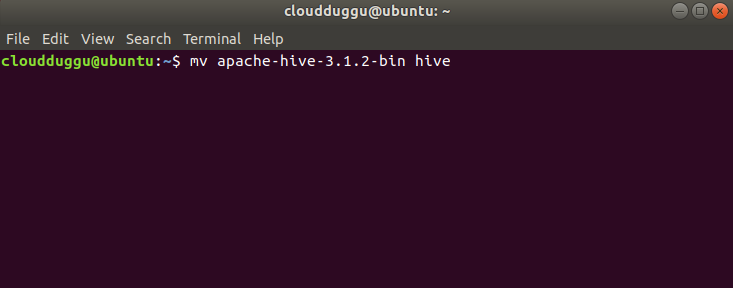
Step 4. Now we will extract the tar file by using the below command and rename the folder to hive to make it meaningful.
$tar -xzf apache-hive-3.1.2-bin.tar.gz
$mv apache-hive-3.1.2-bin hive
Step 5. After this, we will edit the “.bashrc” file to update the HIVE_HOME path.
$nano .bashrc
Add the following line.
export HIVE_HOME=/ home/cloudduggu/hive
export PATH=$PATH:$HIVE_HOME/bin
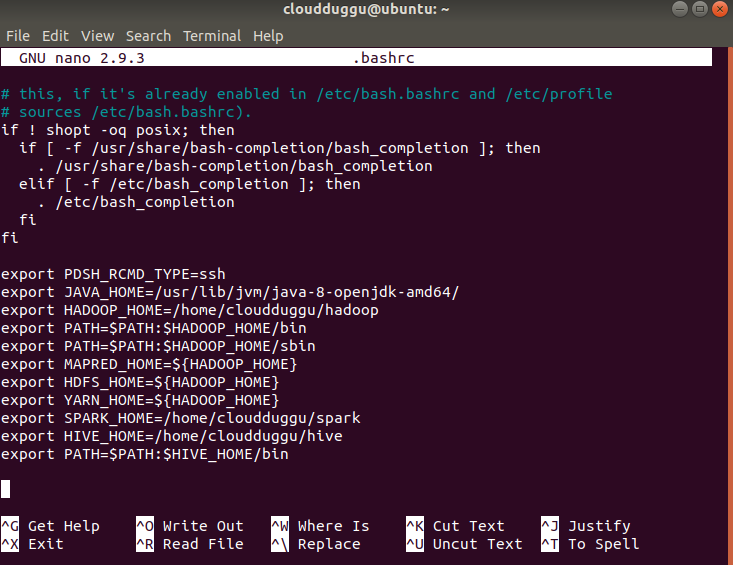
Save the changes by pressing CTRL + O and exit from the nano editor by pressing CTRL + X.
Step 6. Now we will set up the Hadoop path in hive-env.sh file using the below command.
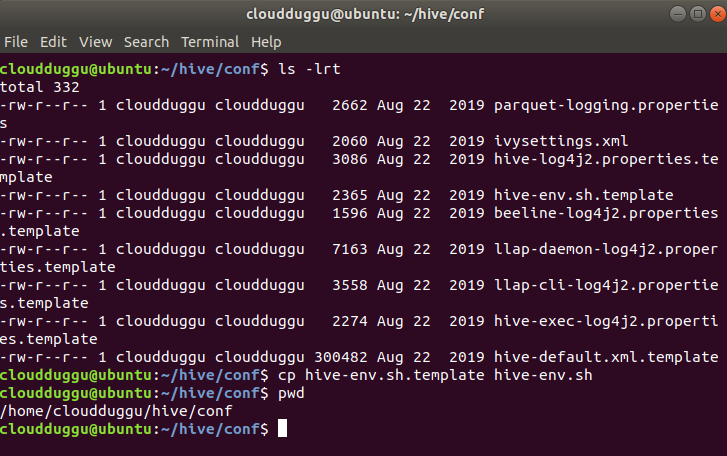
Go to hive’s configuration file location which is present at (/home/cloudduggu/hive/conf) and run the below commands.
$cp hive-env.sh.template hive-env.sh
$nano hive-env.sh
Add the following line.
export HADOOP_HOME=/home/cloudduggu/hadoop
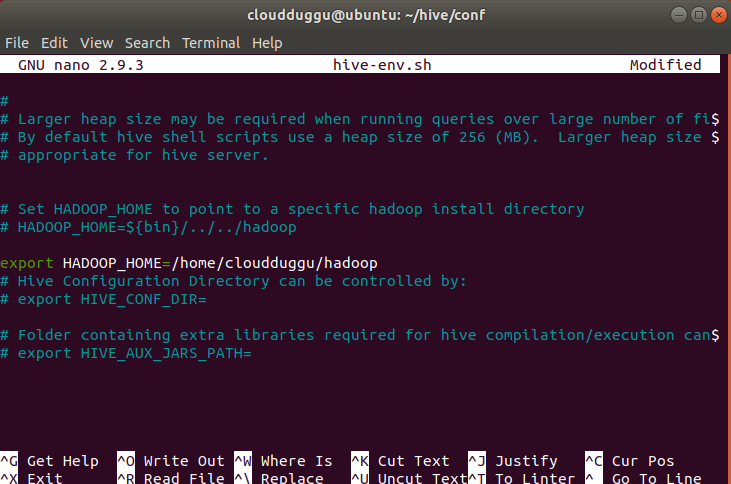
Save the changes by pressing CTRL + O and exit from the nano editor by pressing CTRL + X.
Step 7. After this, we will create the hive’s configuration file (hive-site.xml) from the hive’s provided template.
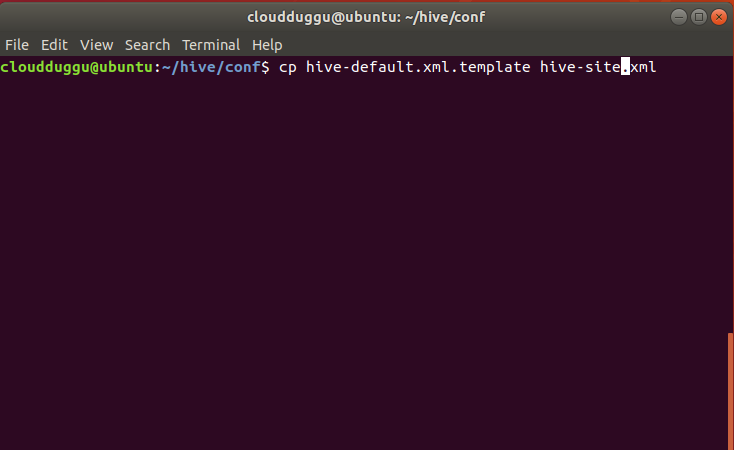
Go to the Hive configuration location which is present at (/home/cloudduggu/hive/conf) and use the below command to create the hive-site.xml file.
$cp hive-default.xml.template hive-site.xml
Step 8. Please add the below parameter in the mapred-site.xml file. It will help when we run Apache Hive queries.
Below is the file location of the mapred-site.xml file. You can check it in your HADOOP_HOME directory.
$/home/cloudduggu/hadoop/etc/hadoop/
                    <property>
                        <name>mapreduce.framework.name</name>
                        <value>yarn</value>
                    </property>
                    <property>
                        <name>yarn.app.mapreduce.am.env</name>
                        <value>HADOOP_MAPRED_HOME=${HADOOP_HOME}</value>
                    </property>
                    <property>
                        <name>mapreduce.map.env</name>
                        <value>HADOOP_MAPRED_HOME=${HADOOP_HOME}</value>
                    </property>
                    <property>
                        <name>mapreduce.reduce.env</name>
                        <value>HADOOP_MAPRED_HOME=${HADOOP_HOME}</value>
                    </property>
                    <property>
                        <name>mapreduce.map.memory.mb</name>
                        <value>2048</value>
                    </property>
                    <property>
                        <name>mapreduce.reduce.memory.mb</name>
                        <value>4096</value>
                    </property>
                    <property>
                        <name>mapreduce.map.java.opts</name>
                        <value>-Xmx1638m</value>
                    </property>
                    <property>
                        <name>mapreduce.reduce.java.opts</name>
                        <value>-Xmx3278m</value>
                    </property>
Step 9. Now verify Apache Hive’s version to make sure all configurations are working fine. Use the below command to check the Hive version.
$hive -- version
If you are getting the below exception then open the hive-site.xml file using the nano editor.
                    SLF4J: See http://www.slf4j.org/codes.html#multiple_bindings for an explanation.
                    SLF4J: Actual binding is of type [org.apache.logging.slf4j.Log4jLoggerFactory]
                    Exception in thread "main" java.lang.RuntimeException:
                    com.ctc.wstx.exc.WstxParsingException: Illegal character entity: expansion character (code
                    0x8
                    at [row,col,system-id]: [3215,96,"file:/home/cloudduggu/hive/conf/hive-site.xml"]
                    at org.apache.hadoop.conf.Configuration.loadResource(Configuration.java:2981)
                    at org.apache.hadoop.conf.Configuration.loadResources(Configuration.java:2930)
                    at org.apache.hadoop.conf.Configuration.getProps(Configuration.java:2805)
                    at org.apache.hadoop.conf.Configuration.get(Configuration.java:1459)
                    at org.apache.hadoop.hive.conf.HiveConf.getVar(HiveConf.java:4996)
                    at org.apache.hadoop.hive.conf.HiveConf.getVar(HiveConf.java:5069)
                    at org.apache.hadoop.hive.conf.HiveConf.initialize(HiveConf.java:5156)
                    at org.apache.hadoop.hive.conf.HiveConf.
                    <init>(HiveConf.java:5099)
                        at org.apache.hadoop.hive.common.LogUtils.initHiveLog4jCommon(LogUtils.java:97)
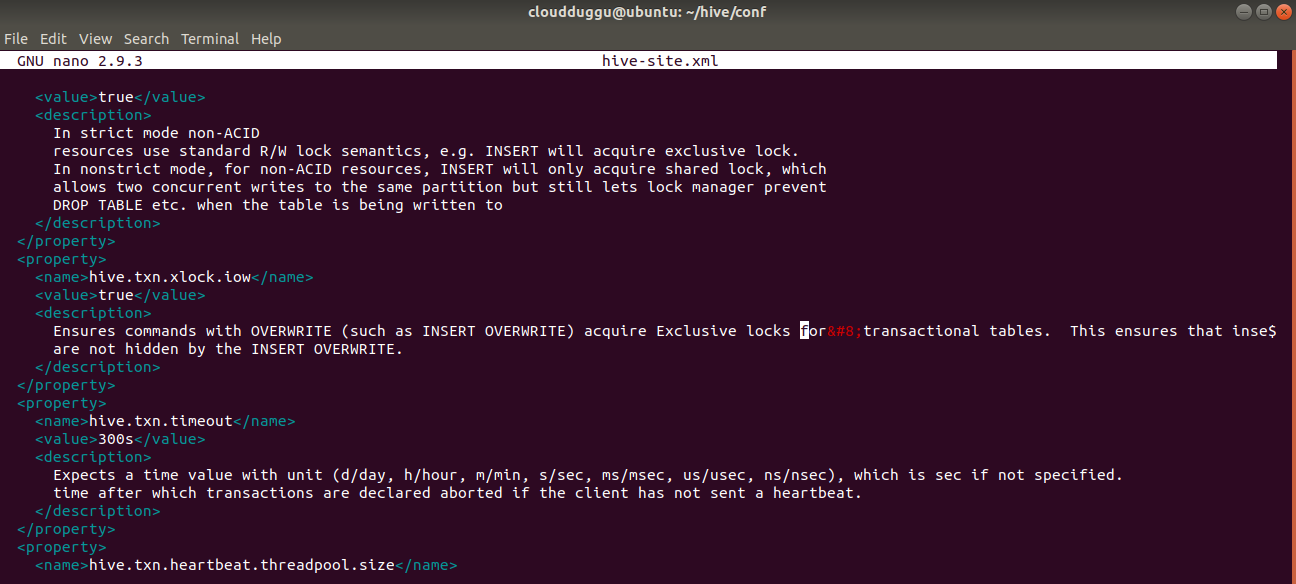
After opening the hive-site.xml file press CTRL+W and search for “Ensures commands with OVERWRITE” and remove special character after “locks for” and save it.
<description>
Ensures commands with OVERWRITE (such as INSERT OVERWRITE) acquire Exclusive locks for
transactional tables. This ensures that inserts (w/o overwrite) running concurrently
are not hidden by the INSERT OVERWRITE.
</description>
Again check Apache Hive’s version.
$hive –- version
If you are receiving the below exception then open the hive-site.xml file using nano editor and press CTRL+W and search for “system:java.io.tmpdir” and replace it with /tmp/mydir.
Note: You will have to search “system:java.io.tmpdir” multiple times in hive-site.xml and replace it with /tmp/mydir.
                    Logging initialized using configuration in
                    jar:file:/home/cloudduggu/hive/lib/hive-common-3.1.2.jar!/hive-log4j2.properties Async: true
                    Exception in thread "main" java.lang.IllegalArgumentException: java.net.URISyntaxException:
                    Relative path in absolute URI: ${system:java.io.tmpdir/Bsystem:user.name%7D
                    at org.apache.hadoop.fs.Path.initialize(Path.java:259)
                    at org.apache.hadoop.fs.Path.
                    <init>(Path.java:217)
                        at
                        org.apache.hadoop.hive.ql.session.SessionState.createSessionDirs(SessionState.java:710)
                        at org.apache.hadoop.hive.ql.session.SessionState.start(SessionState.java:627)
                        at org.apache.hadoop.hive.ql.session.SessionState.beginStart(SessionState.java:591)
                        at org.apache.hadoop.hive.cli.CliDriver.run(CliDriver.java:747)
                        at org.apache.hadoop.hive.cli.CliDriver.main(CliDriver.java:683)
                        at sun.reflect.NativeMethodAccessorImpl.invoke0(Native Method)
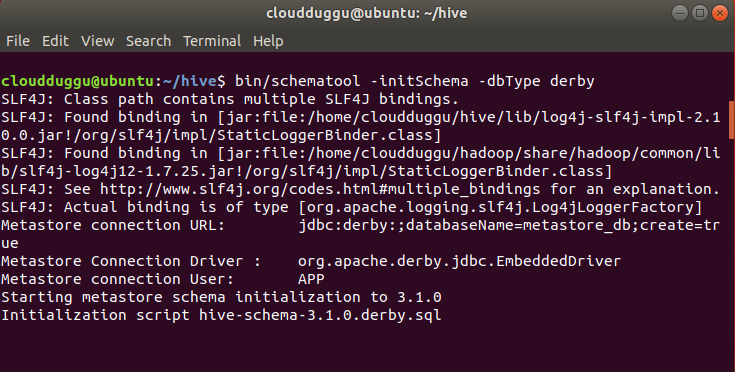
Step 10. By default, Apache Hive uses the Derby database. Initialize Derby database using the below command.
$bin/schematool -initSchema -dbType derby
Step 11. Start the Hive shell using the below command.
$hive
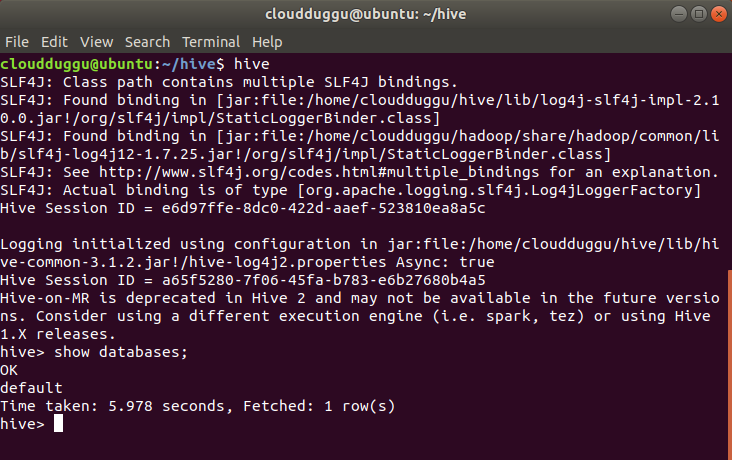
So now we have completed the Apache Hive 3 installation.